Picking an object
|
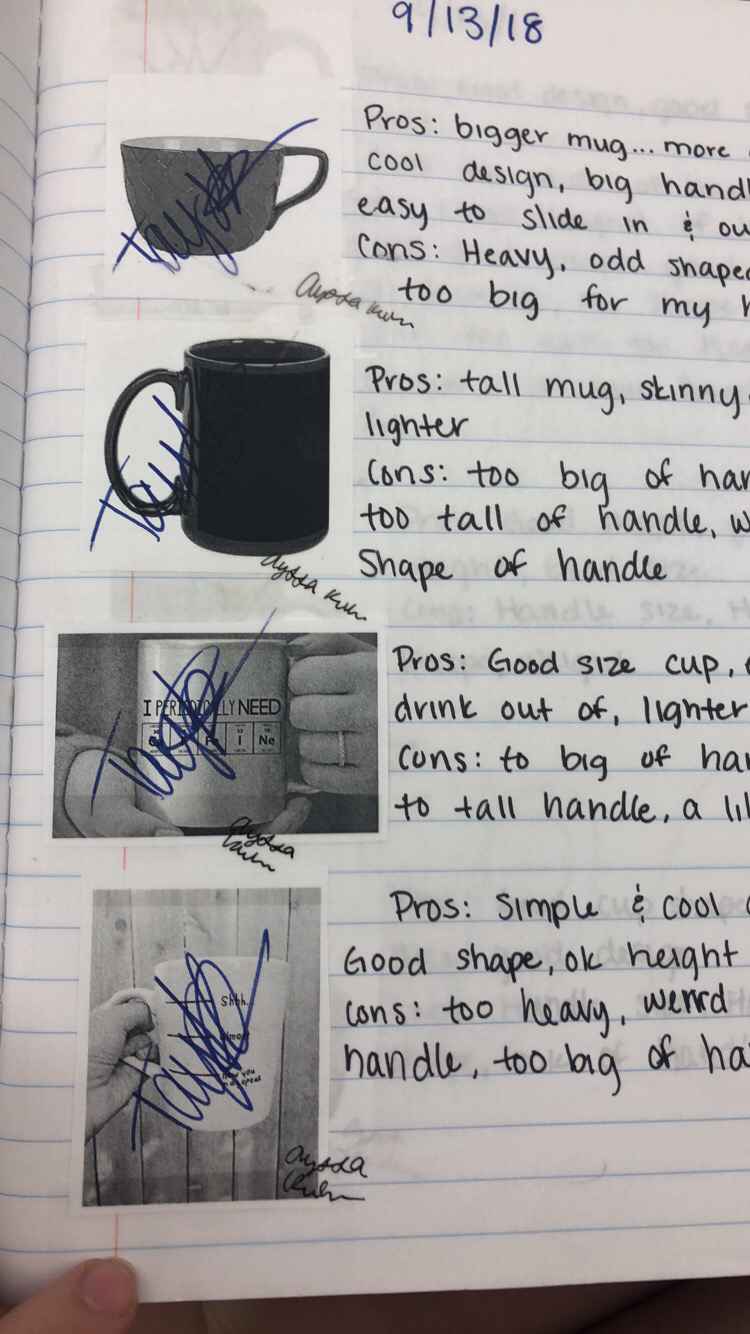
First in class, our entire class went to the drawing board to come up with as many basic necessities in our day to day life. As we started narrowing down what we could and couldn't 3-D print, the idea of a coffee mug came to me. Although I couldn't use the mug, it would satisfy the need to make something better. So my first step was looking up at least 10 basic mug styles, which I learned the real issue isn't the mug style, its the handle. So I went to work making sure the handle was the best it could be.
|
|
Designing the Redesign
|
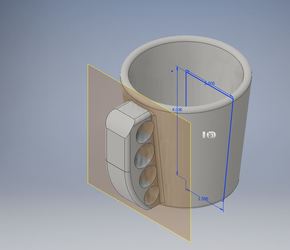
I wanted a handle that all four of fingers could fit in, where there wasn't too much or too little space. I measured the diameter of each of the fingers on my right hand, since that is the hand I usually hold my mug with. Once I got the dimensions of my fingers I went home and measured the diameter of my favorite mug which is 4". The only thing I didn't like about my mug was how short it is, so I added a couple inches making the height of the mug 4". I wanted the mug to slowly get smaller at the bottom, and it became 3.172". Once I had that I learned the easiest way to make it a cup was to revolve it so in order to do that the diameter had to be 2" and the bottom would have to be 1.586". So then I had to shell it and fillet so the cup didn't have sharp edges for hypothetically drinking out of.
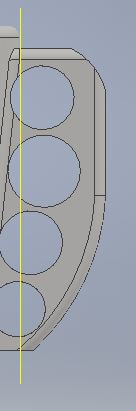
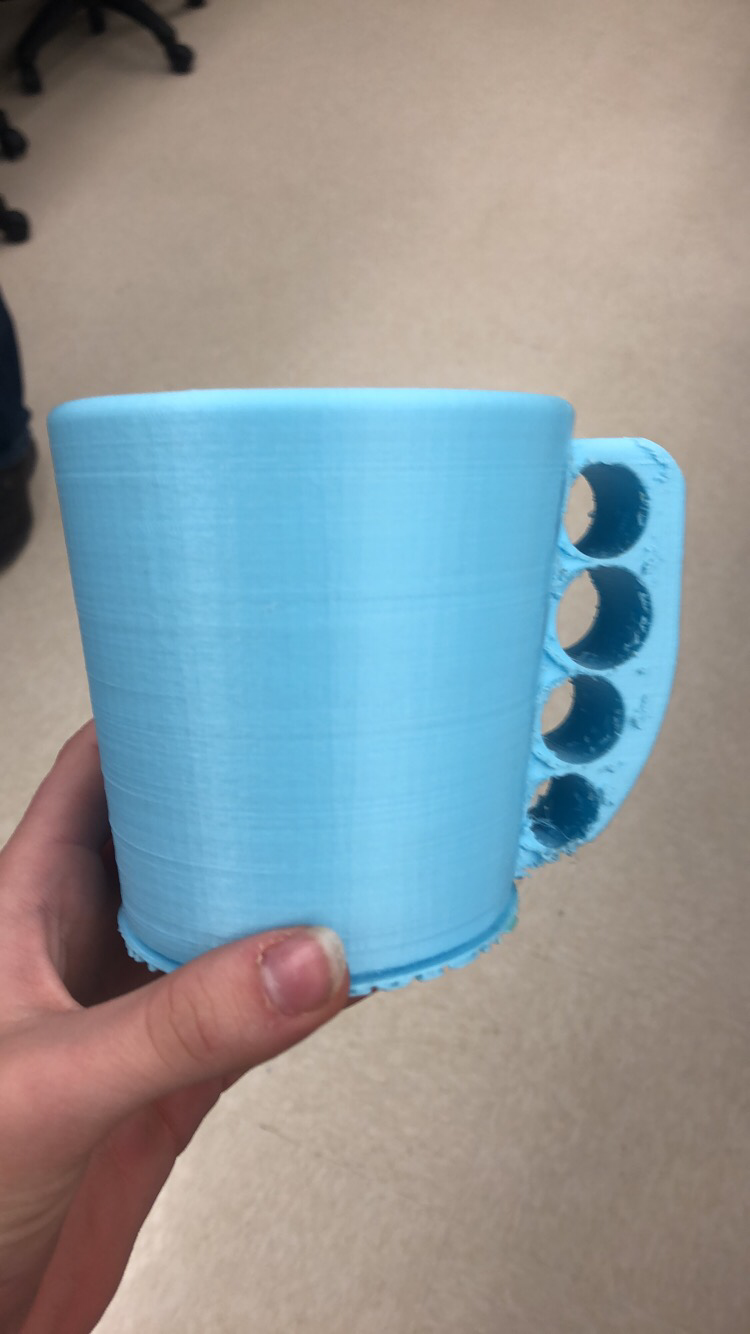
Brass knucklesI moved to the handle, which took a lot of thought in order to get the finger holes in the right place. After I had all the measurements of my fingers I put them how I hold the handle. The handle ended up being 3.5" height wise and 1" wide. I extended the handle out 2" and shaved off the excess material I didn't need by extruding arcs and lines I had made. In the end the design ended up looking like a brass knuckles cup customized for me and me alone.
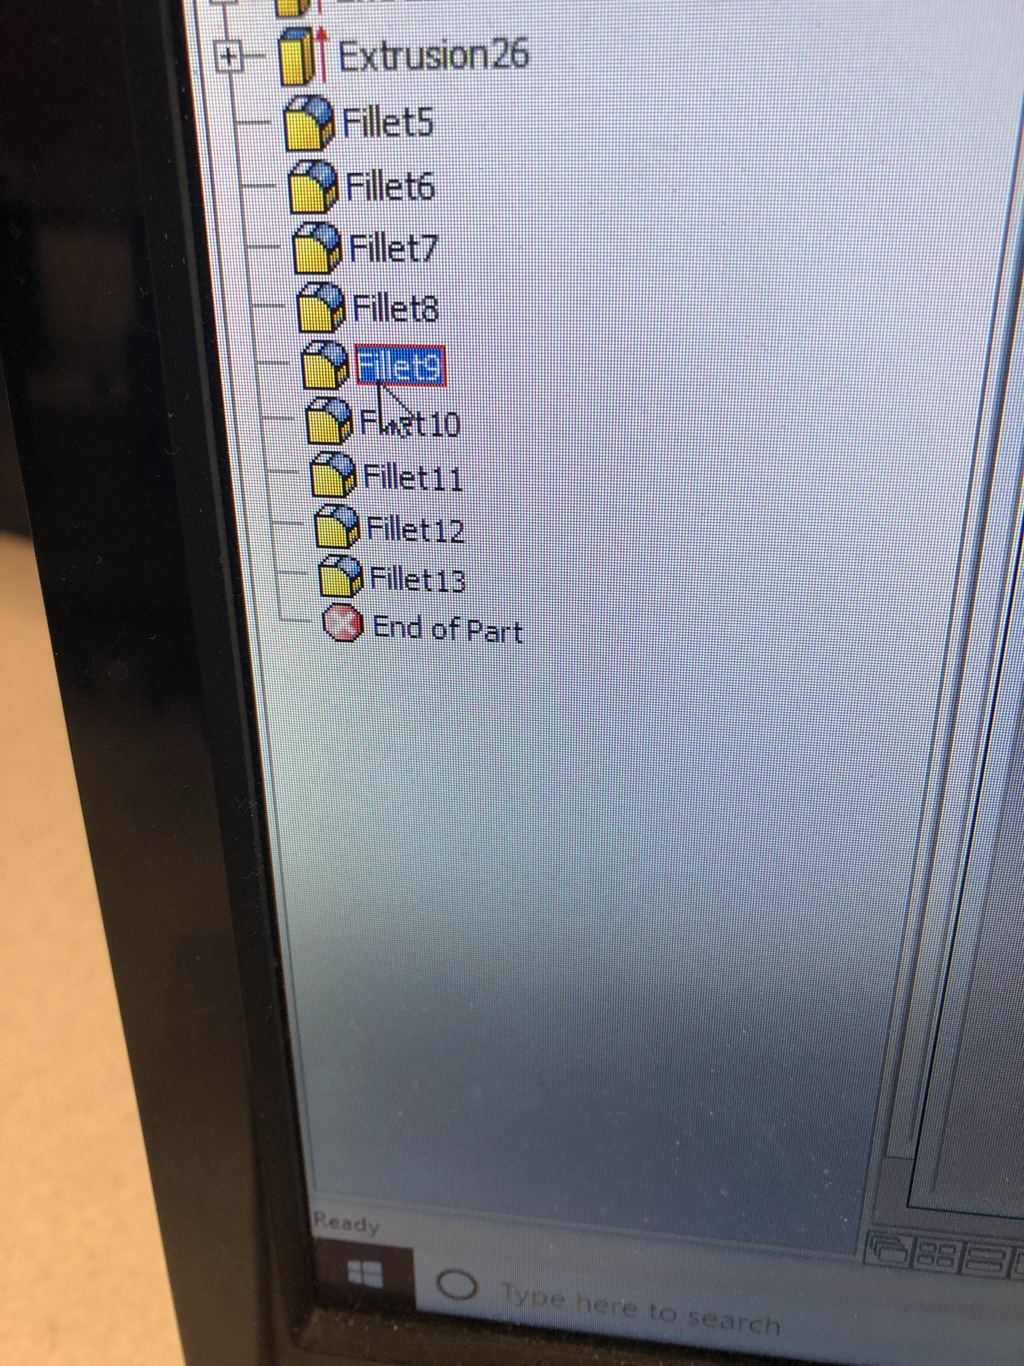
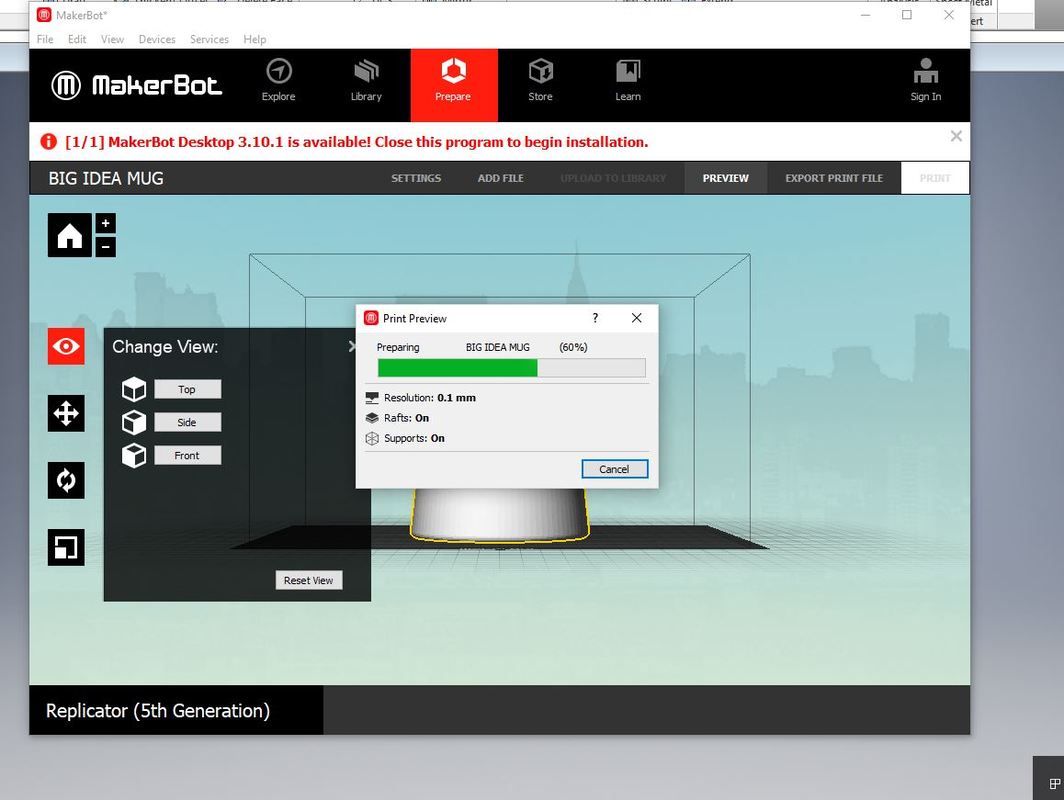
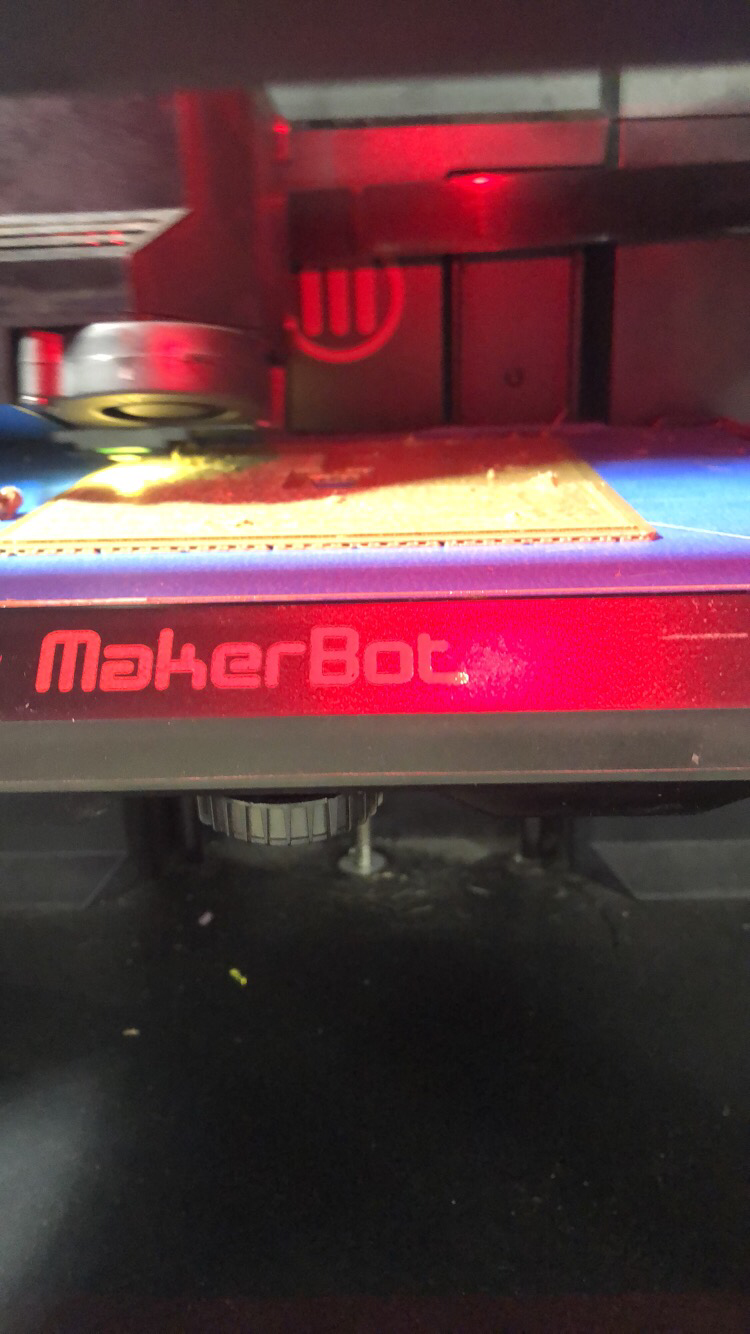
Printing my modelI then exported my finished product to an stl file so I could open it in Makerbot. Once I had it opened in Makerbot I grabbed a flash drive, and in Makerbot flipped the cup upright, scaled it to 1000% and made sure it was on the platform. I then went into the settings and made sure it was High quality printing and had supports and rafts checked. I uploaded the file to the flash drive and went down to the Makerbot and began the print. I then had to reprint my project for the fillets on the finger holes to be correct
ReflectionIn this project I actually learned quite a lot in the program Inventor. I learned how to revolve an object and still making the top flat. I also learned how to use a working axis plane and extrude an object from that plane towards an object. Lastly I learned how to use fillets to rounds edges and make them look cleaner and softer. I would like to learn more to make a project full and complete.
|
|
