CnC Router
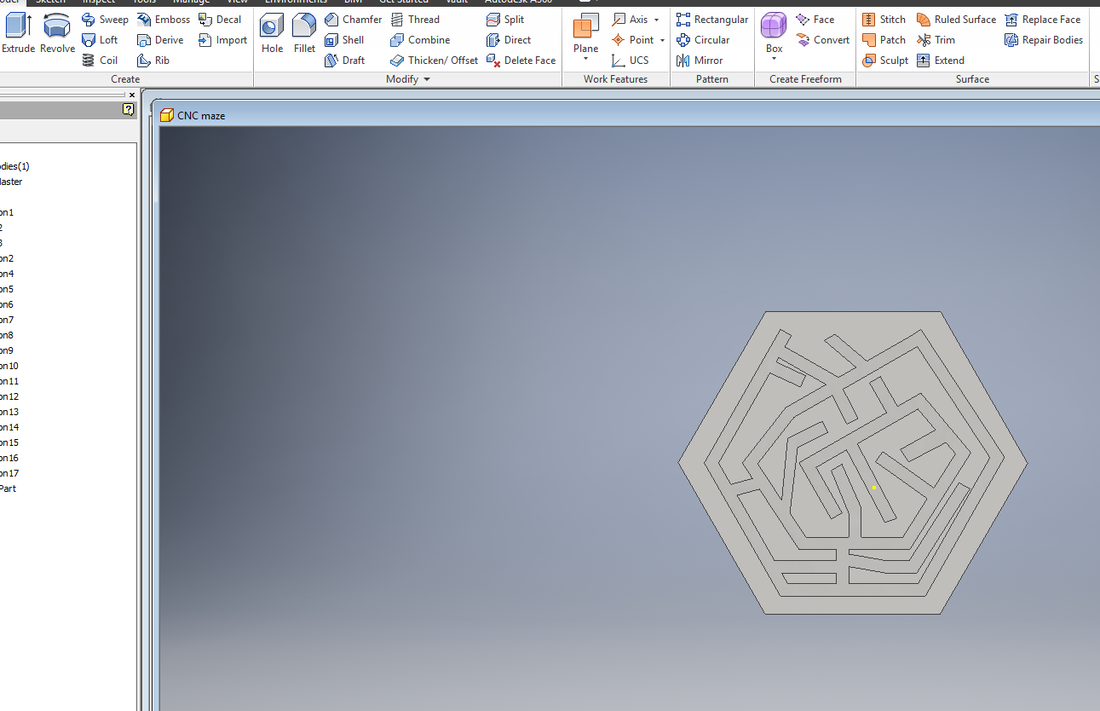
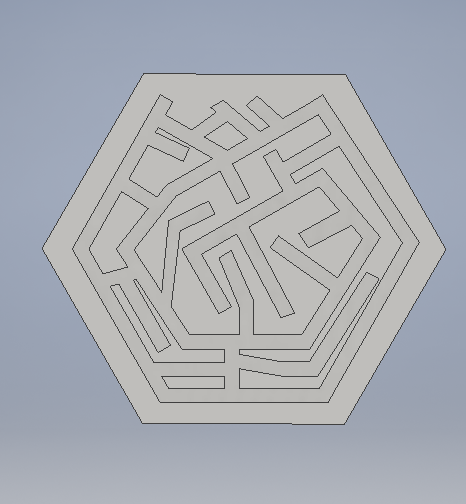
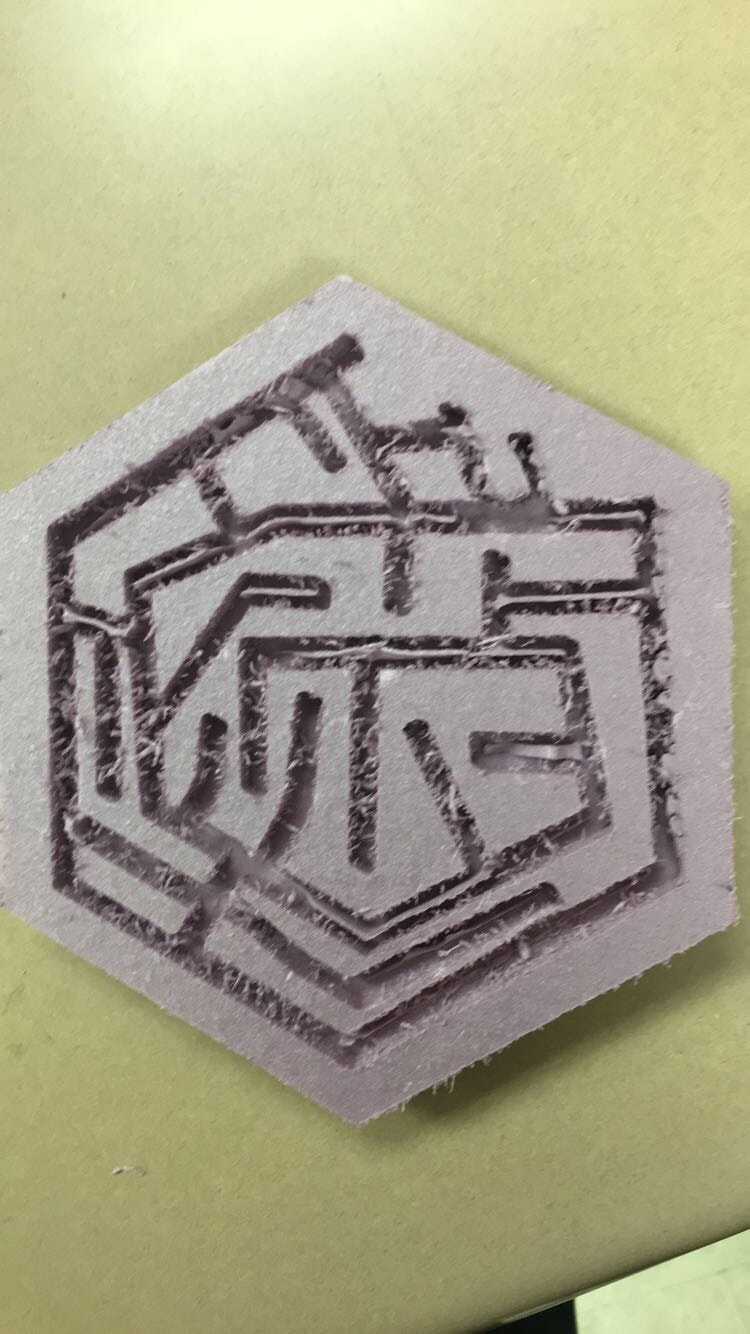
For this project we had to create shape and then draw a completed maze filling up as much space as possible and still making sure there was one direct path. Then transfer it into fusion 360, and make it able to be cut out using the machine.
Steps
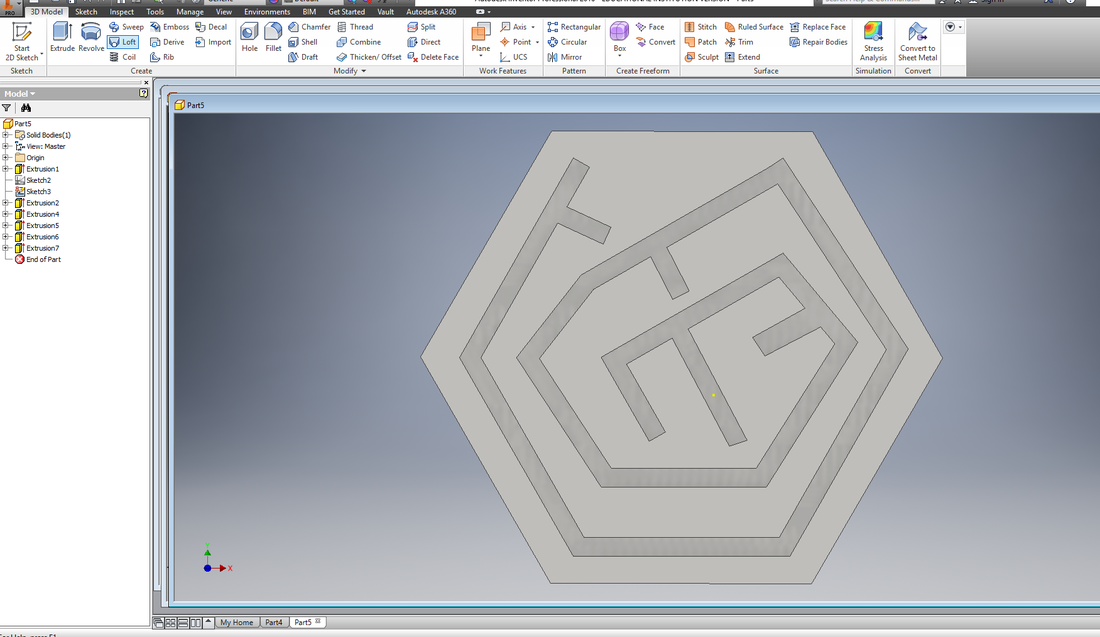
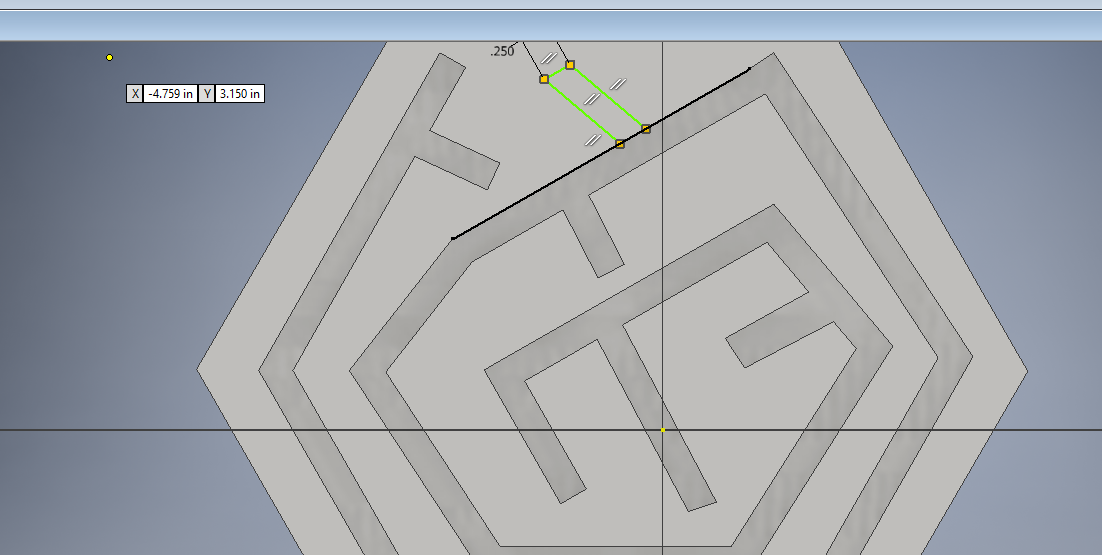
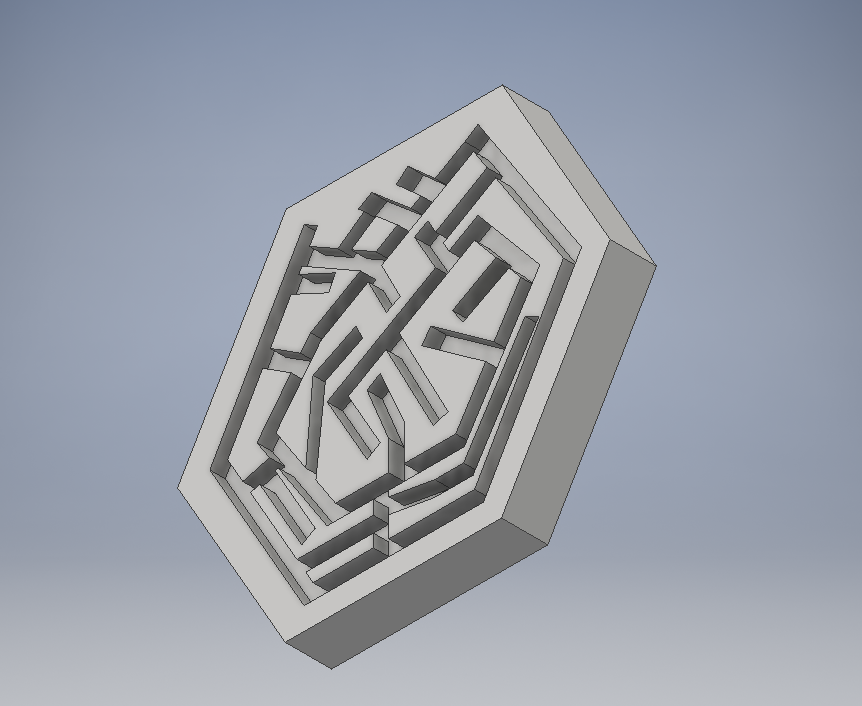
First, need to come up with a shape that is 8"x 11" or smaller. Extrude the shape to .5". Once you have your shape extruded come up with one channel going through as much of the shape, with a 1/4" boarder, as possible. You can do this by having one straight line in any shape or pattern you would like, click the offset button, then make the path 1/4" wide. Close the ends and extrude 1/4", making sure you switch the direction so it goes into the shape not out of. Next make dead ends and other connecting trails, filling up as much space as possible still making them the same dimensions as the original channel. Once the entire shape is almost filled up (Edges/ Boarder, and some space in the shape), you can stop and your maze is complete.
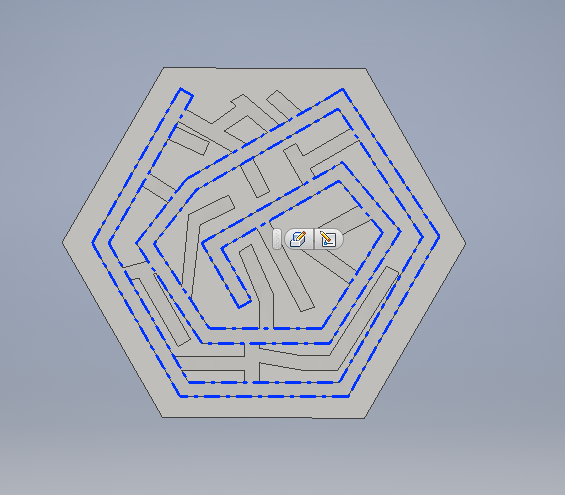
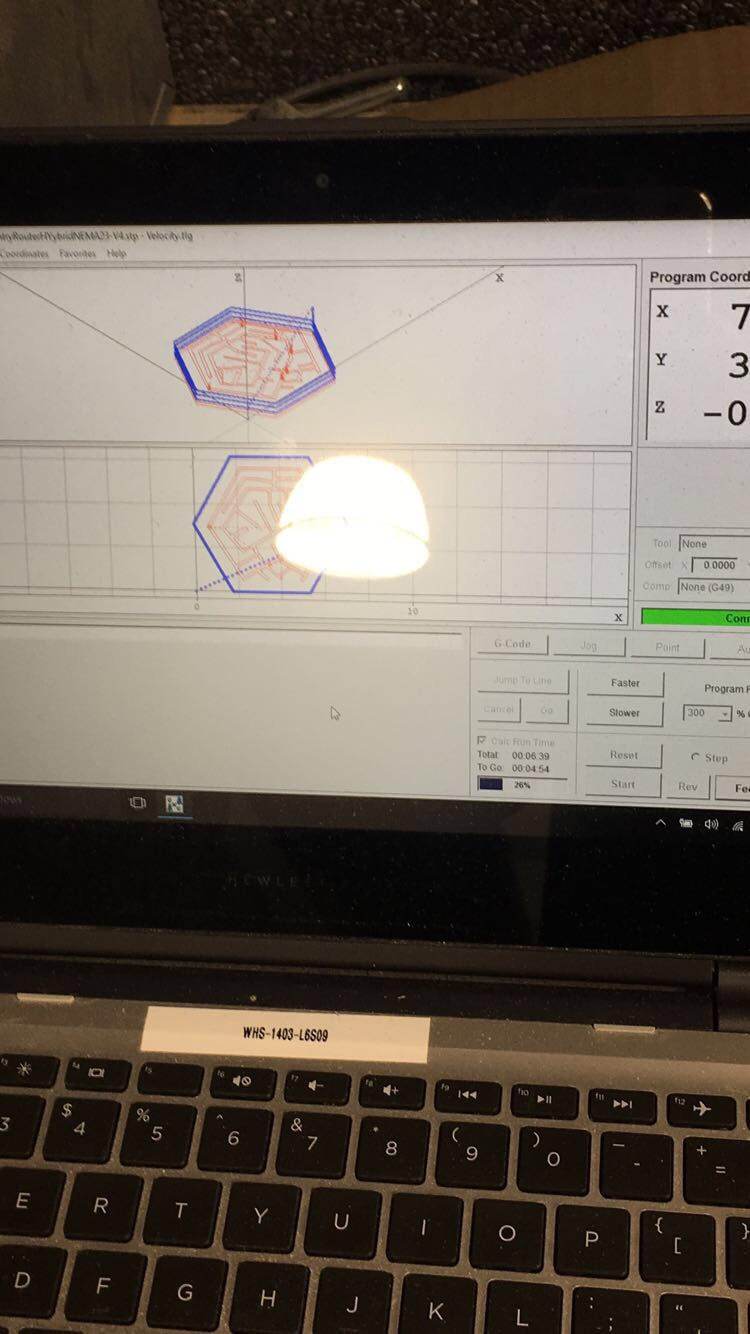
Once done with the design open fusion 360, and download the maze onto fusion 360. In Fusion 360, set up the maze to be cut. Then, the cnc router would cut the perimeter of the maze in five passes. Then I changed the bit settings to a flat end bit, and correct dimensions that are the same as the bit on the machine, so it would cut channels that are .25 inches in depth. I added another 2D contour so the the cnc router that would cut the maze in 6 minutes rather than the original 45 minutes it was going to take. Once the maze was ready to be cut, I watched a simulation of the bit cutting out the maze to make sure it would run smoothly and then saved the code to my H-drive. I then, posted the files g-code and saved it to a flash drive, and chose the "forest" option to be able to cut it.

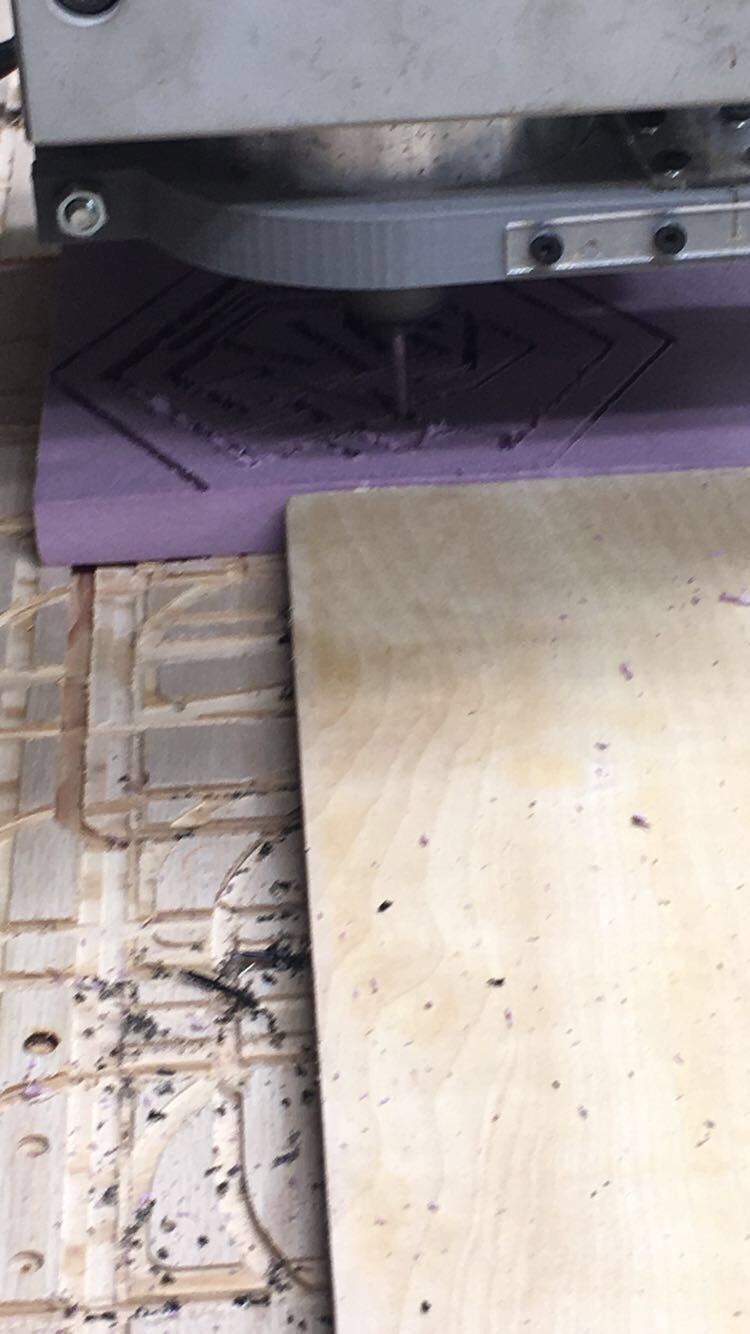
In order to be able to place the styrofoam on the base for the machine, I placed the double sided tape on each corner and down the middle on the foam and placed it on the cnc router. Then, I opened my file on the computer that is connected to the cnc router. Next, I pressed the "Jog" button and pressed the X, Y, and Z coordinates to place the bit on the green dot on the computer that matches with the piece of foam. After changing the coordinates, I zeroed all of the coordinates in order for the machine to run exactly where I wanted. Then, I pressed start.
What I learned
I learned in this project that double sided tape only works when it is pressed down really hard on the object. I also learned that this project can usually take more than 40 minutes but if you can figure out how to shorten into 6 minutes by one step it will make your life easier. In the computer I learned how to use fusion 360 in a new way compared to the widget. Both needed fusion 360, but they needed different steps. This made it a fun challenge and I got to learn a new software.
