Earbud organizer
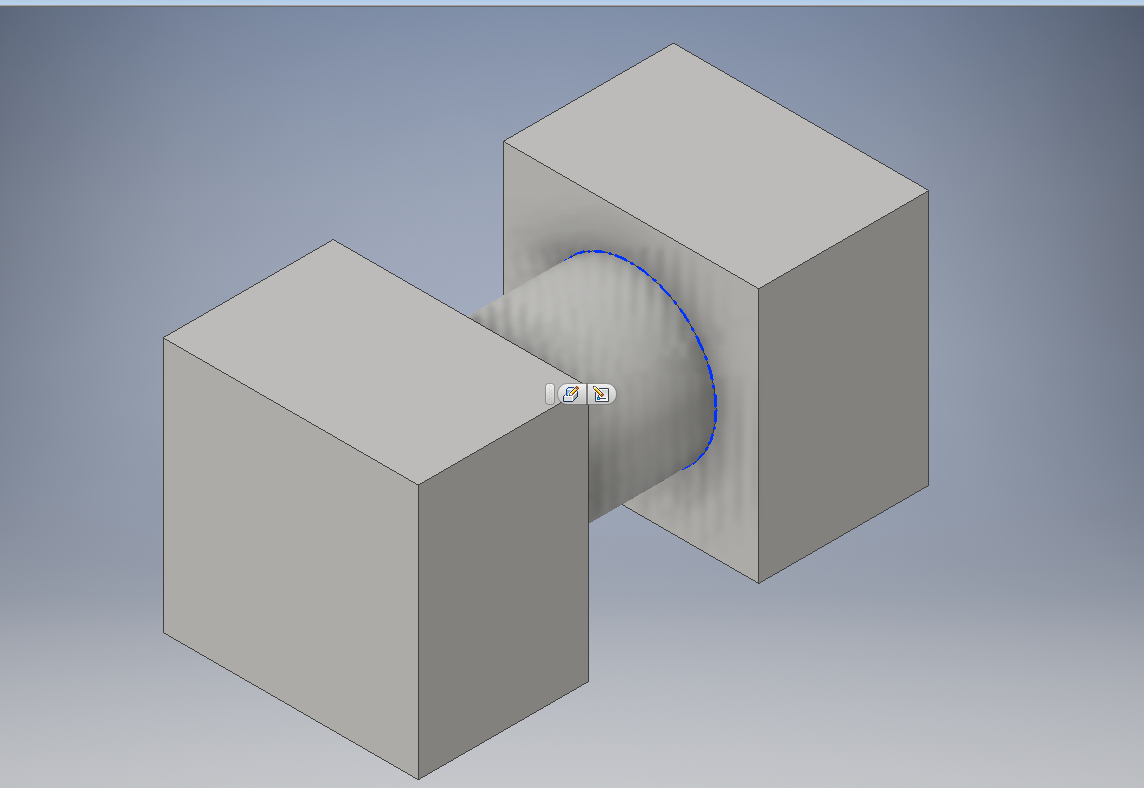
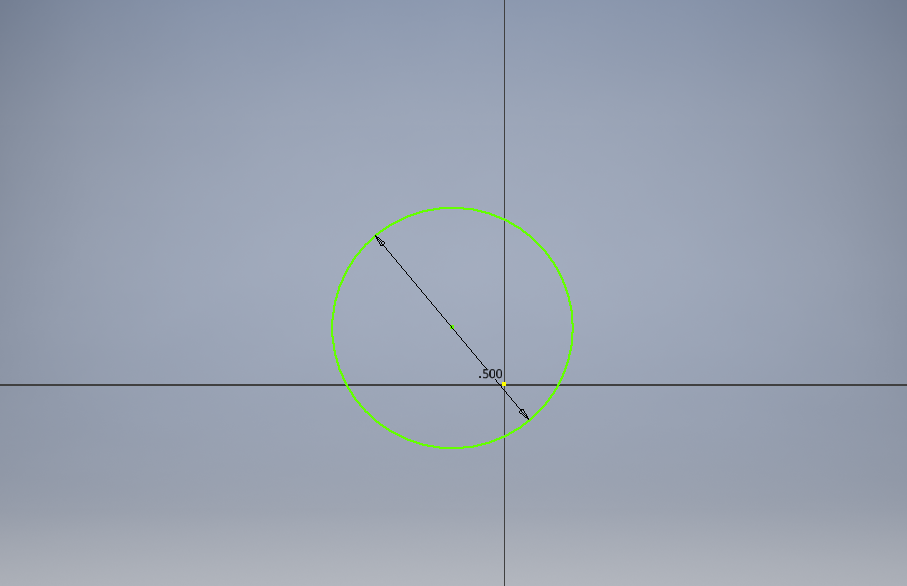
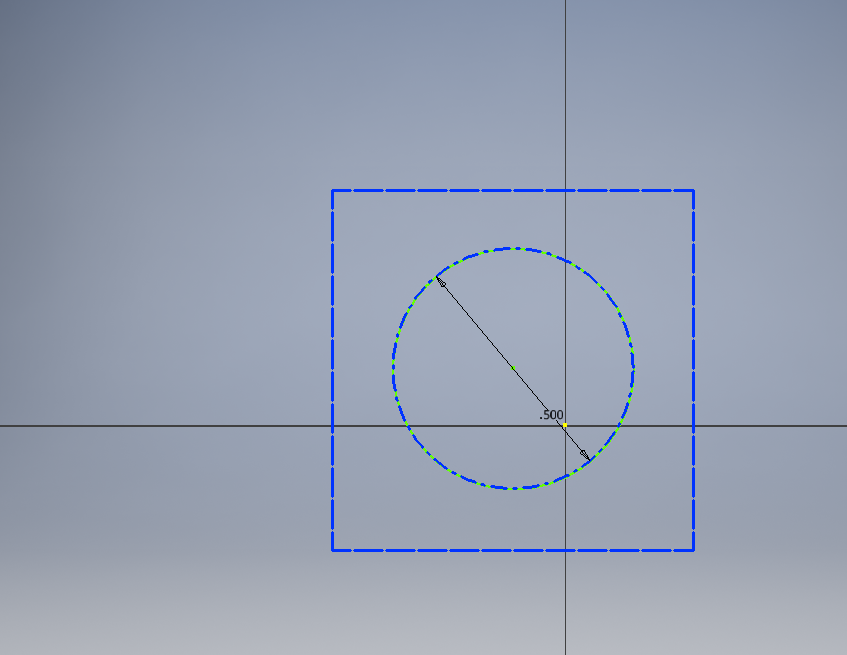
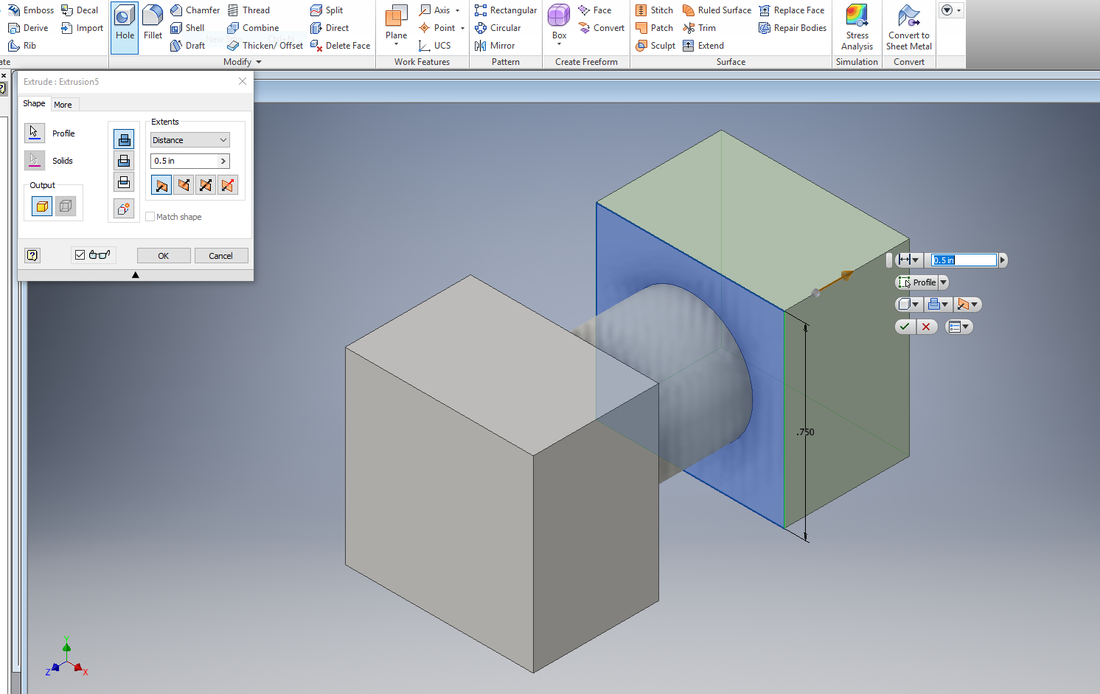
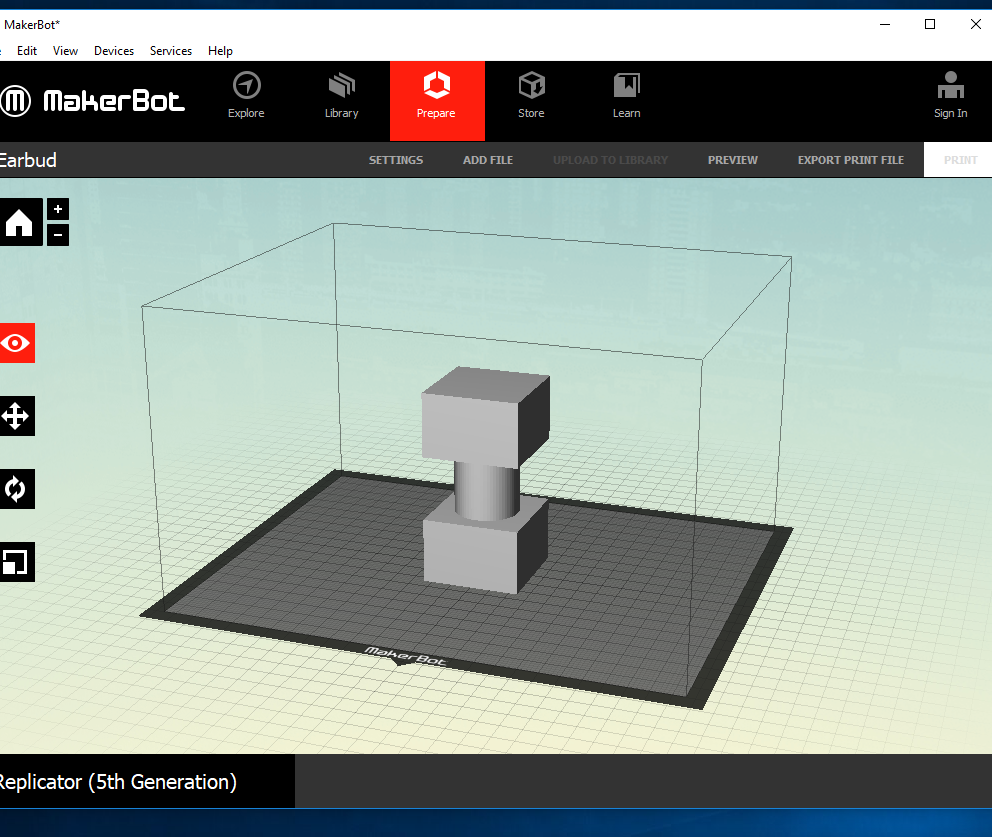
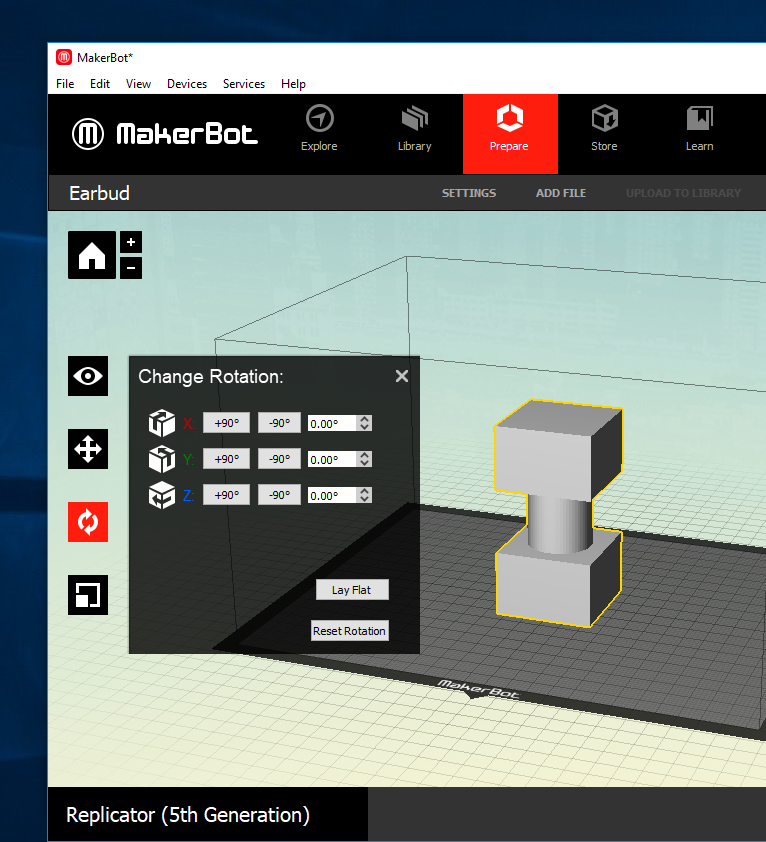
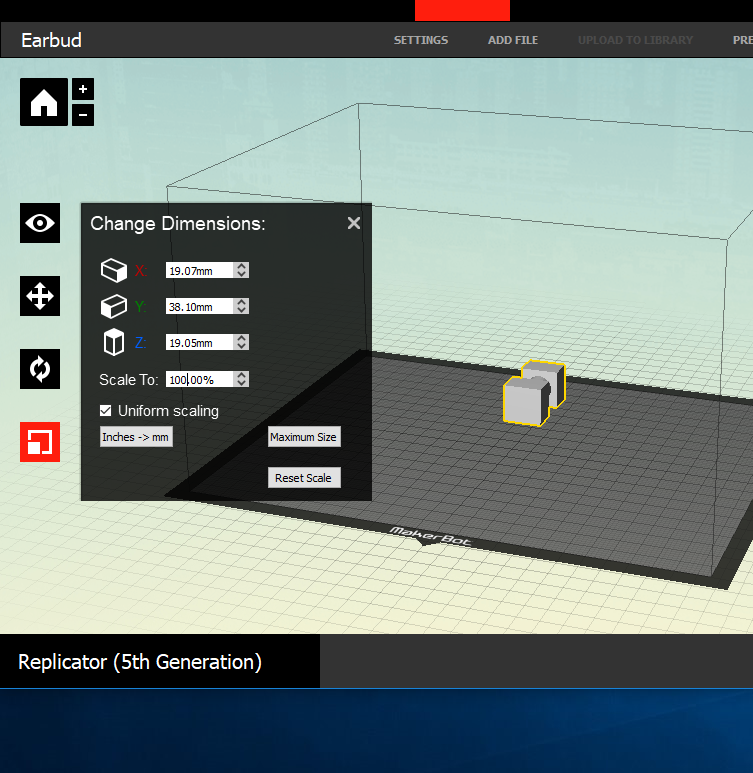
First I had to open up inventor and start with the sketch of what I wanted to do. I decided on an earbud organizer to build. First I made a sketch of the cylinder with a diameter of 1/2" in the center. Next I extruded it 1/2" and then sketched a square around it making sure that all sides were even and the cylinder was centered. When I finished the square I had to extrude that 1/2". I flipped my sketch to the opposite side of the 1st square and just outlined the 1st square to make sure it was the same. As soon as the 2nd square was sketch I extruded that one to 1/2". I then had to save the file and then export the file will CAD and save it as an stl. I then opened up the file in maker bot, changed the scale from a 100% to 1000%. I also rotated it so it was laying completely flat. I then went to setting to make sure that supports were put in. I click preview and then saved it from there. I went down to the lab and grabbed a hard drive, and uploaded my earbud organizer sketch into the hard drive.
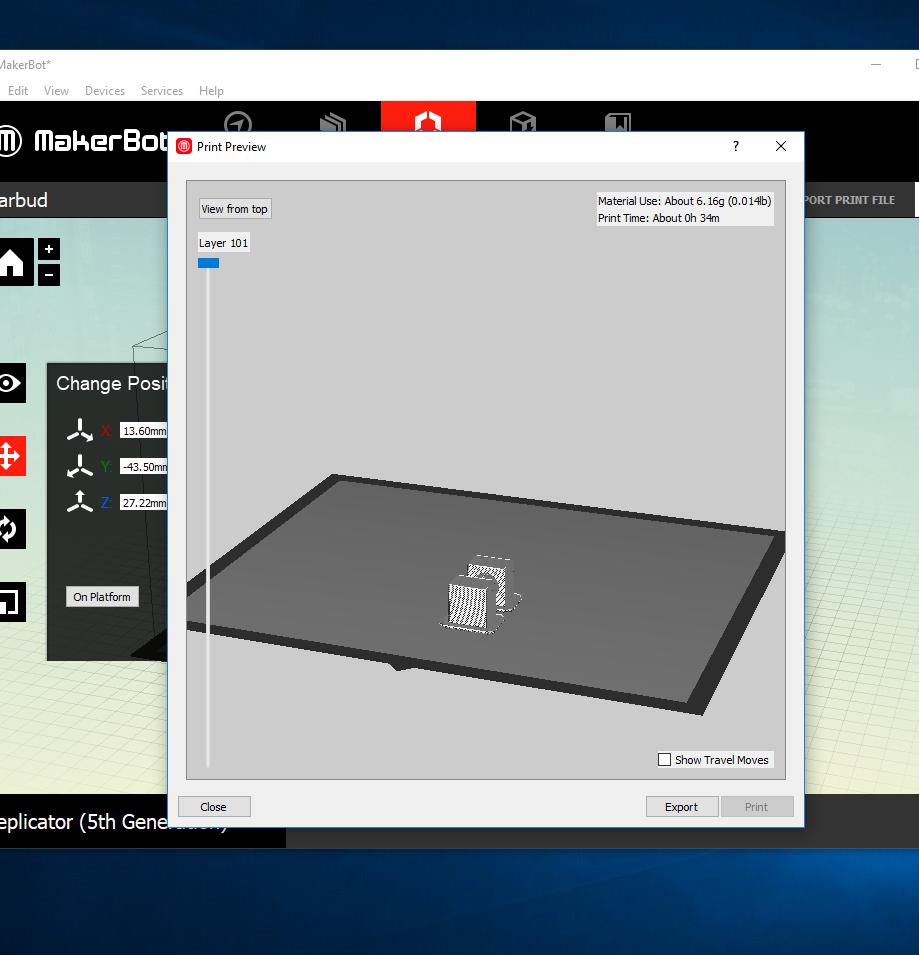
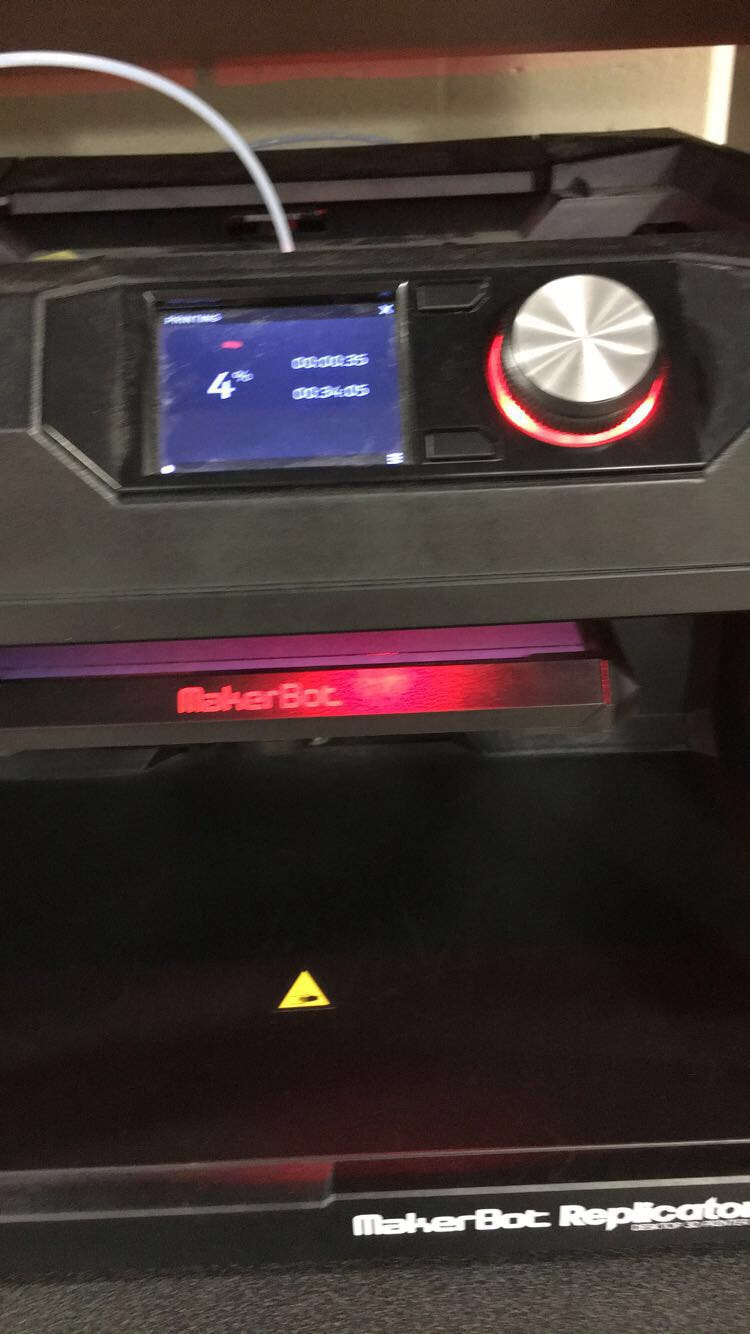
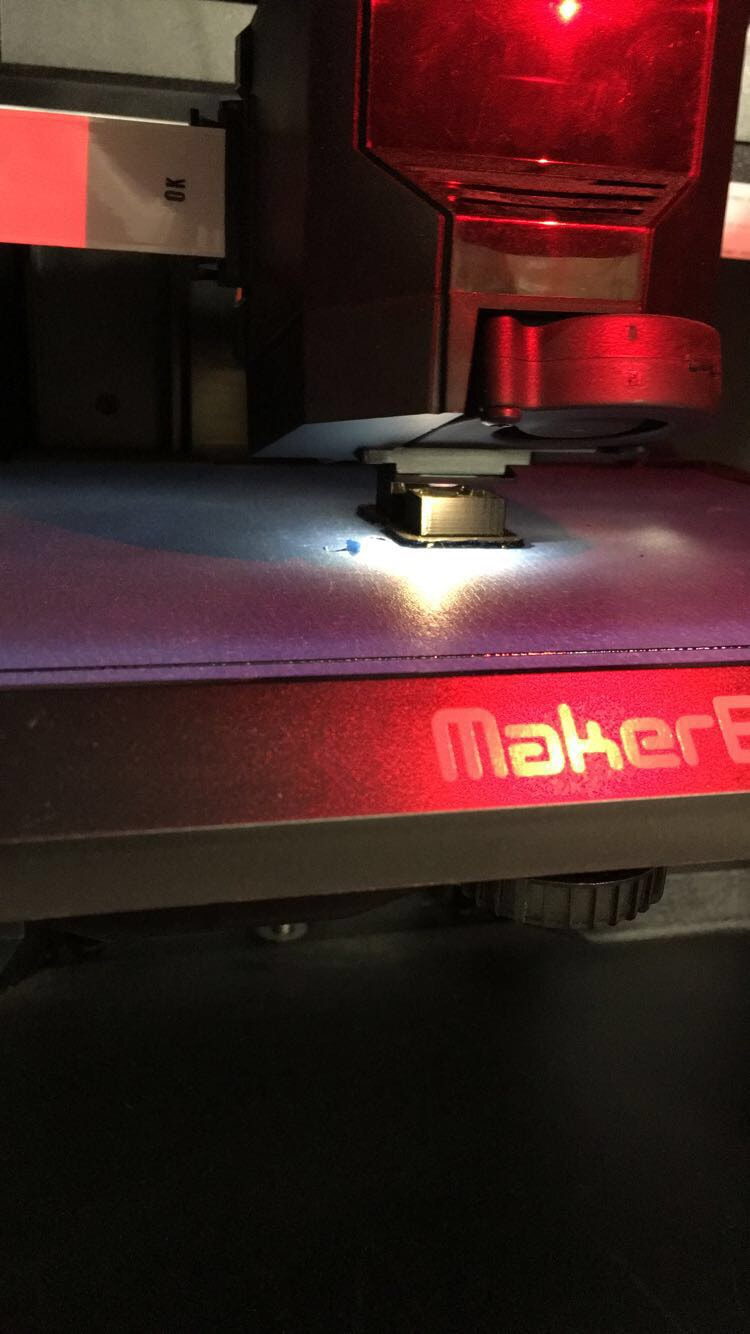
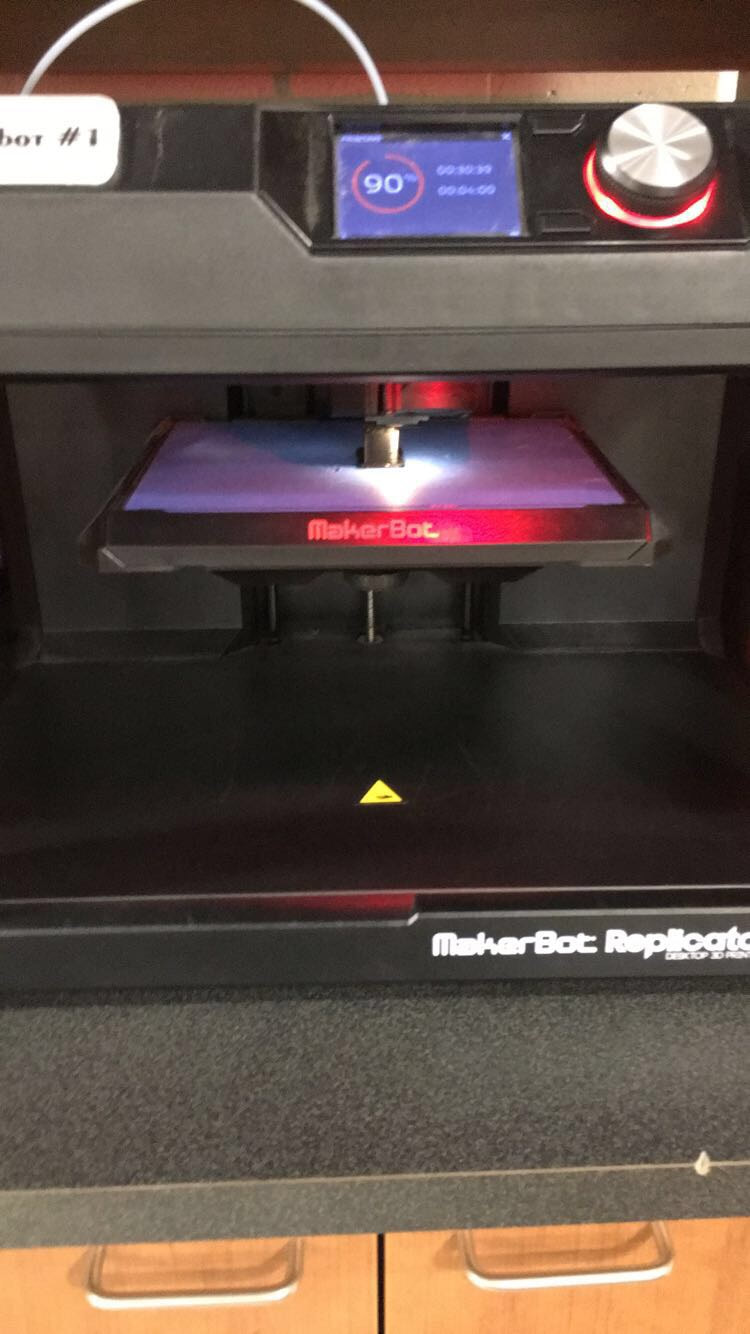
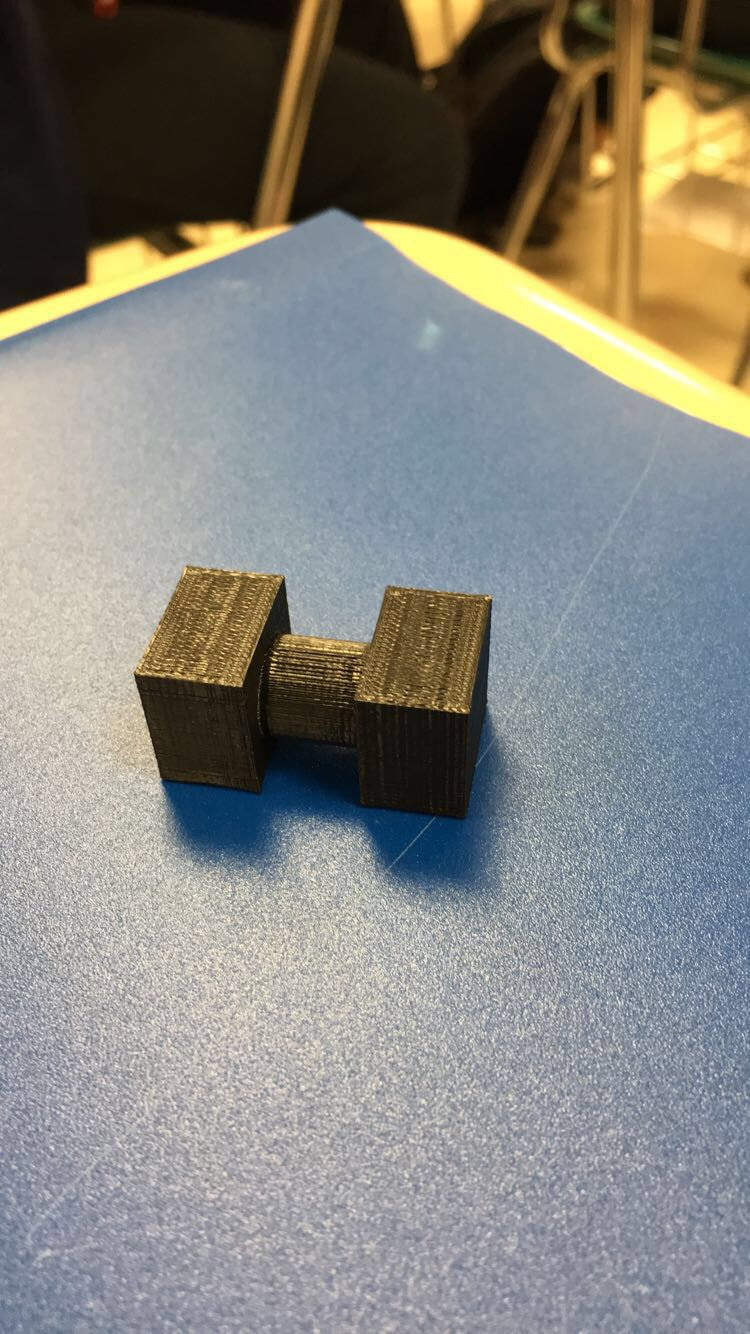
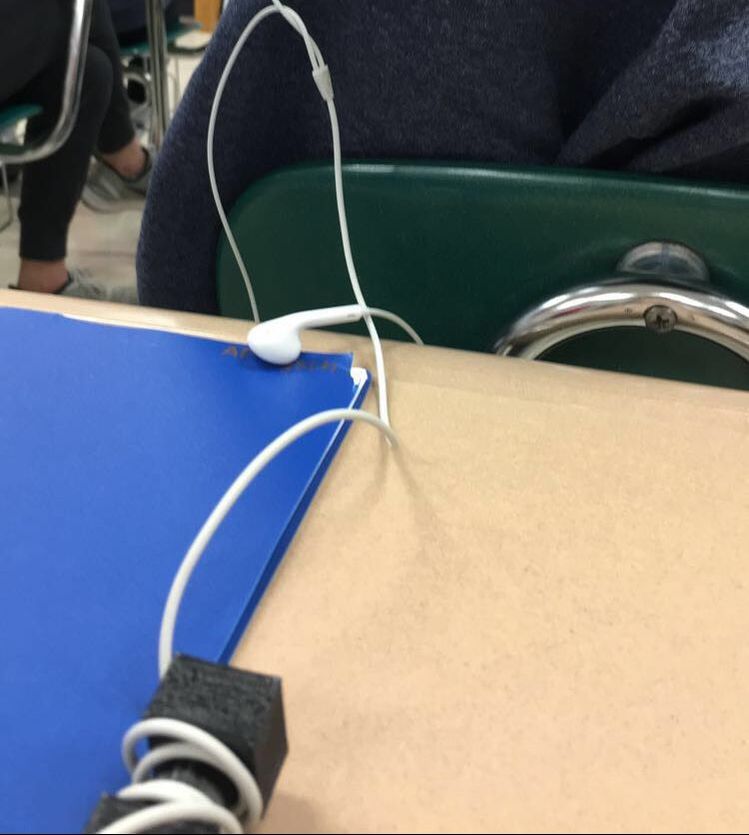
As soon as the file was on the drive I went down to a maker bot machine and put the drive into the machine. On the screen I selected hard drive, and my file name. I had to wait for it to start printing and then I waited 34 minutes for it to be done printing. Once done printing I broke the supports of and tore the raft off so I had my finished product. Once done I wrapped the ear cord around the holder and was able to listen to music at my desk without my earbud cord being all over the place.
What I learned
I learned that don't get your heart settled on one project because I ended up having to change my entire project and start over. Although the new project I choose took no time at all I still was frustrated that I couldn't do my original project. I learned how to put supports into my 3-D print. I also learned how to extrude new shapes that I hadn't done before. I also learned not to get to frustrated, because there is always a way to figure it out.