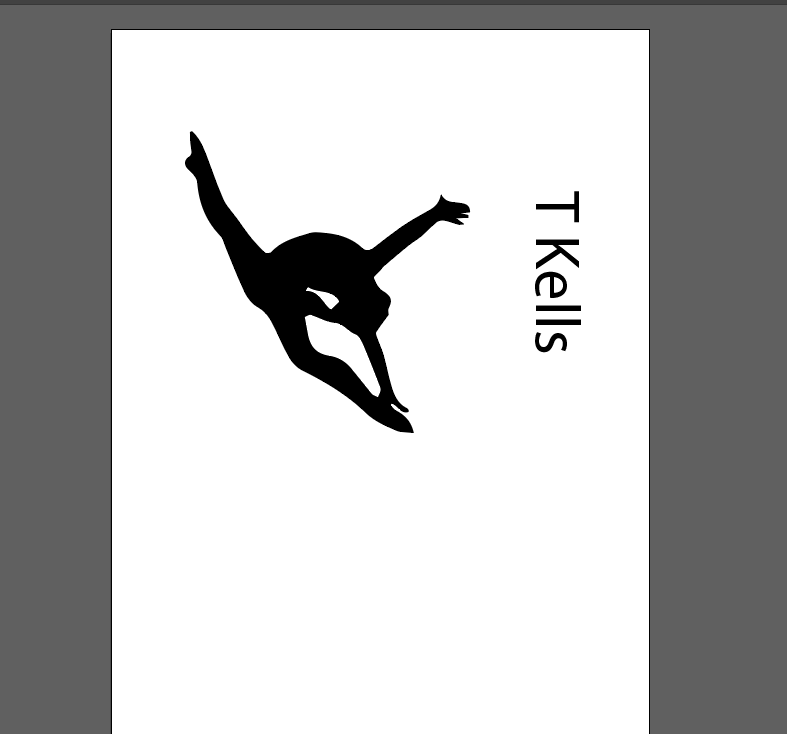
WATER BOTTLE
|
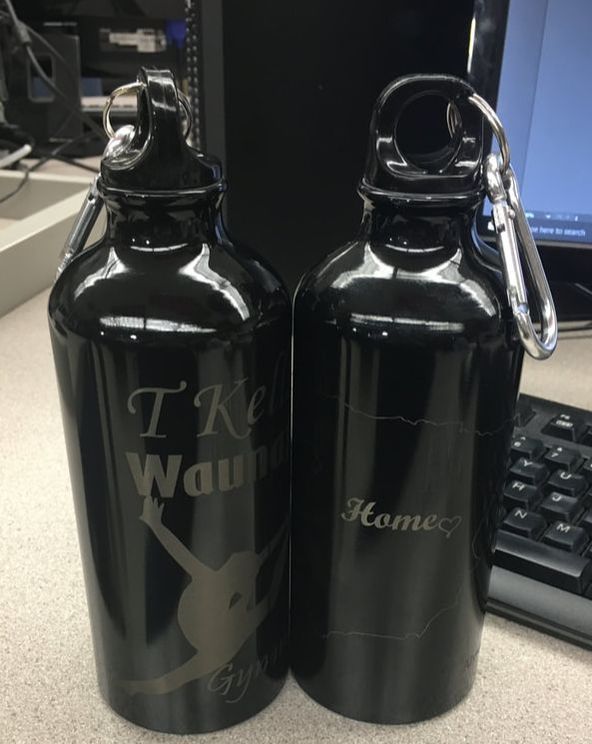
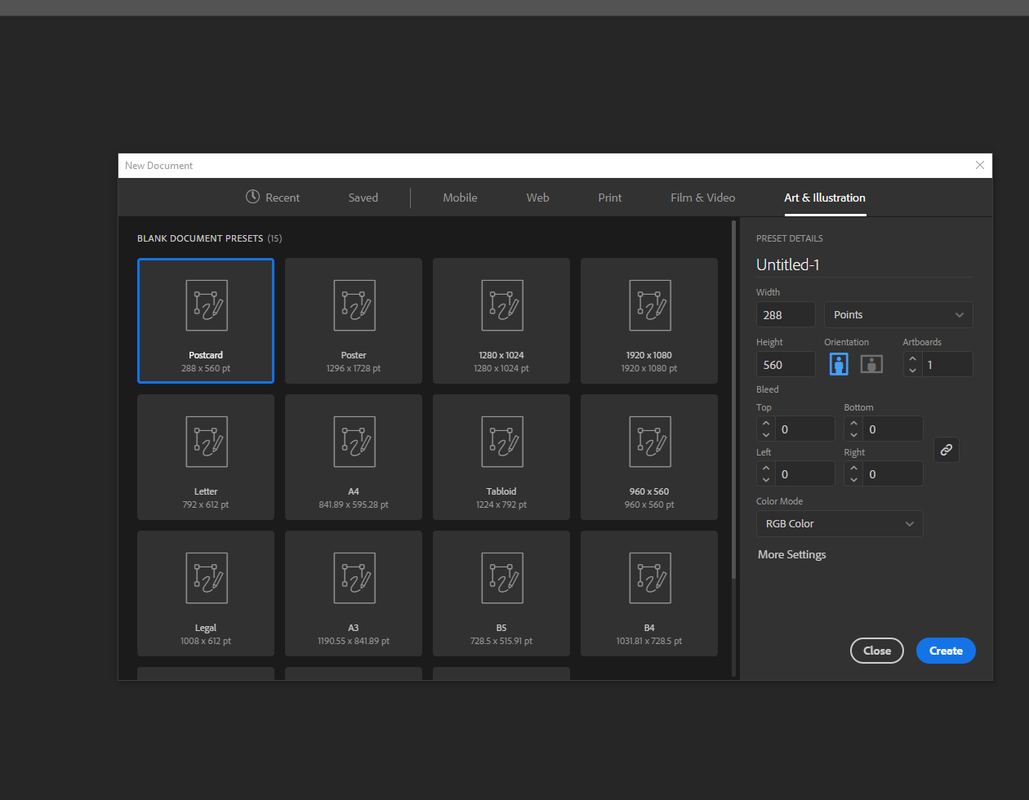
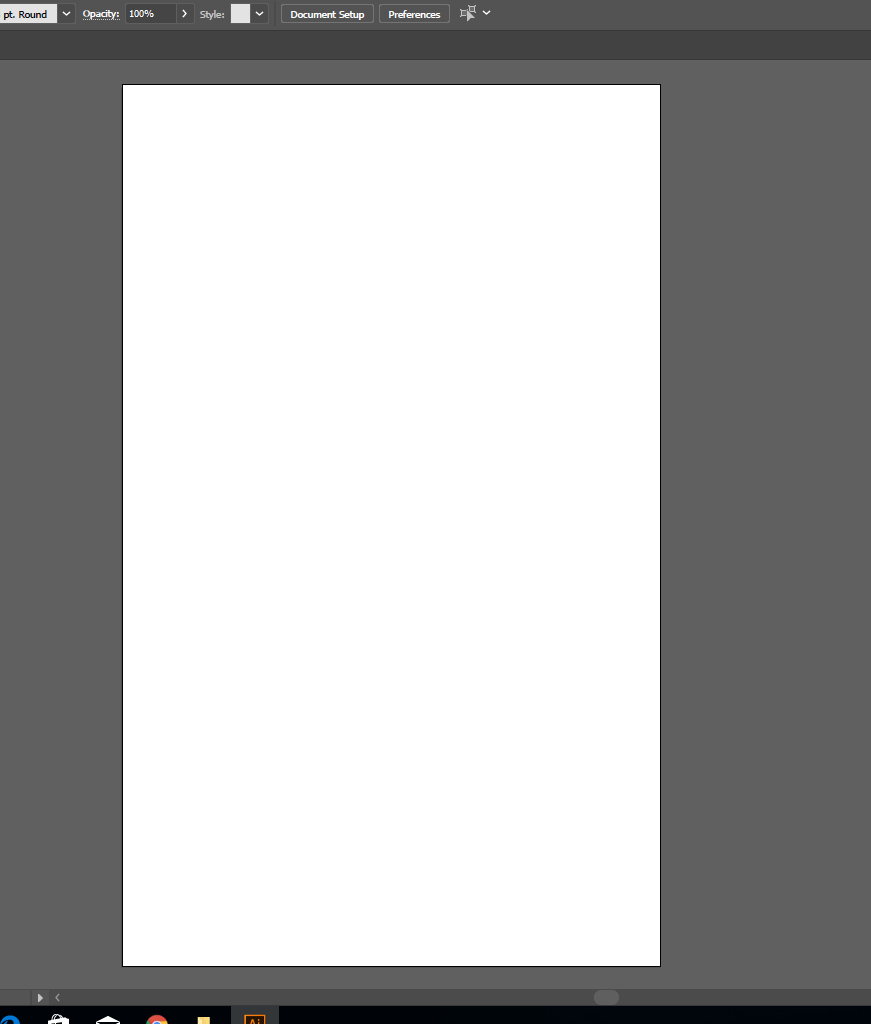
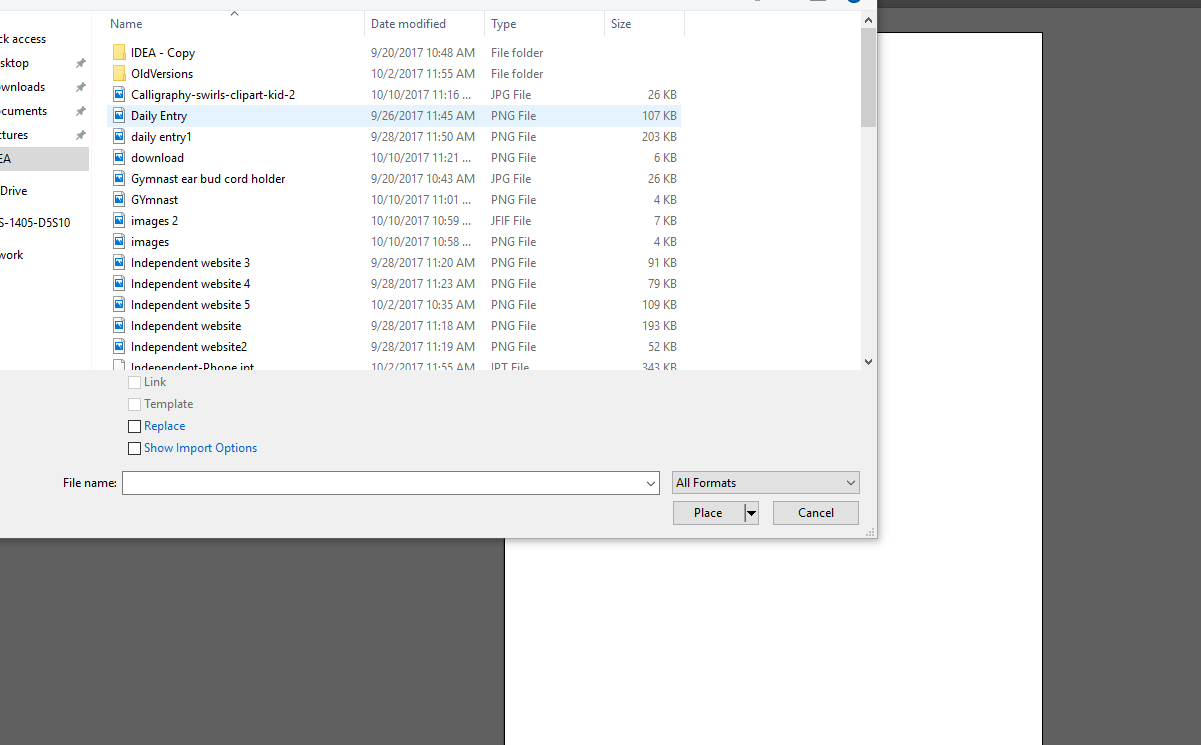
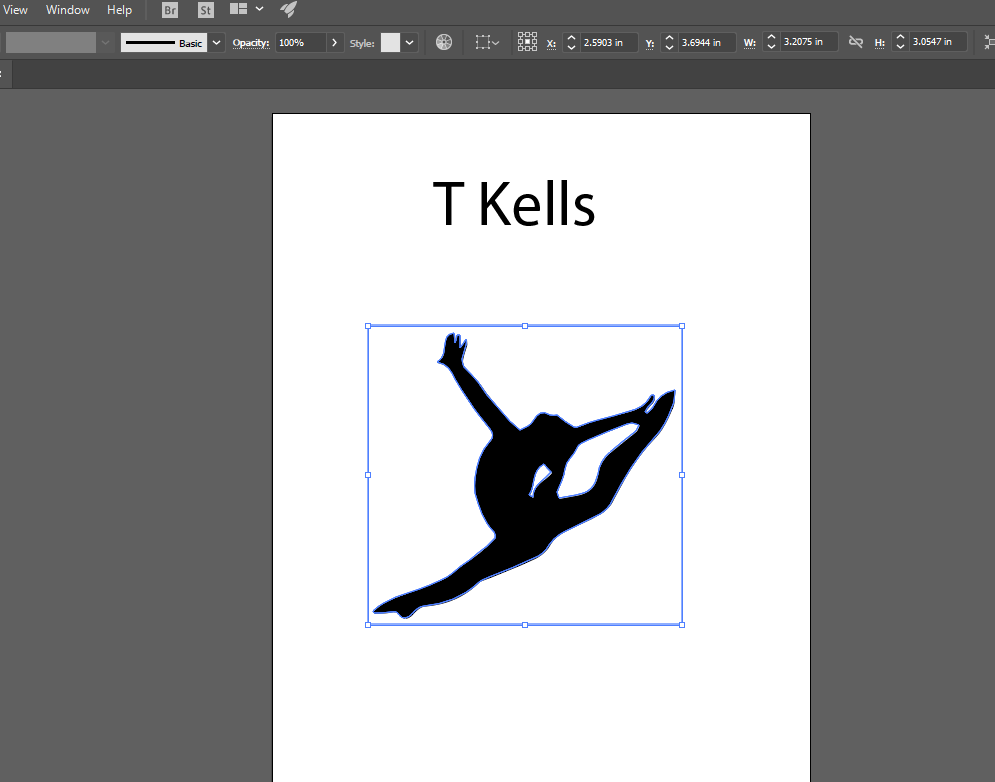
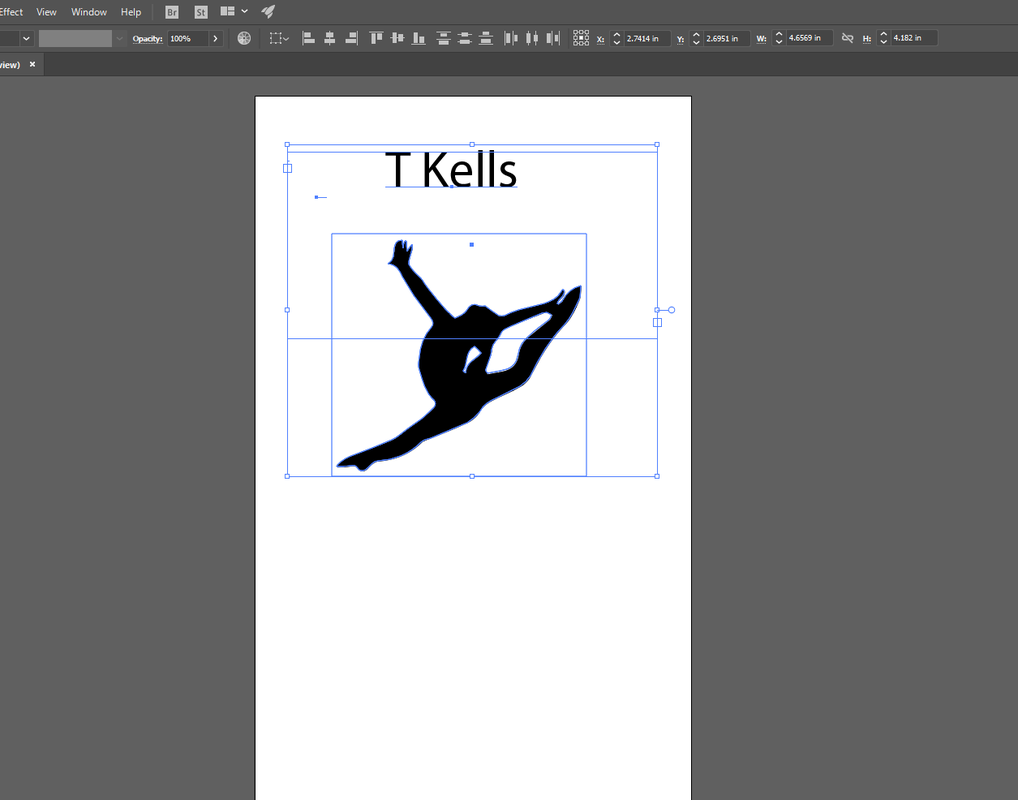
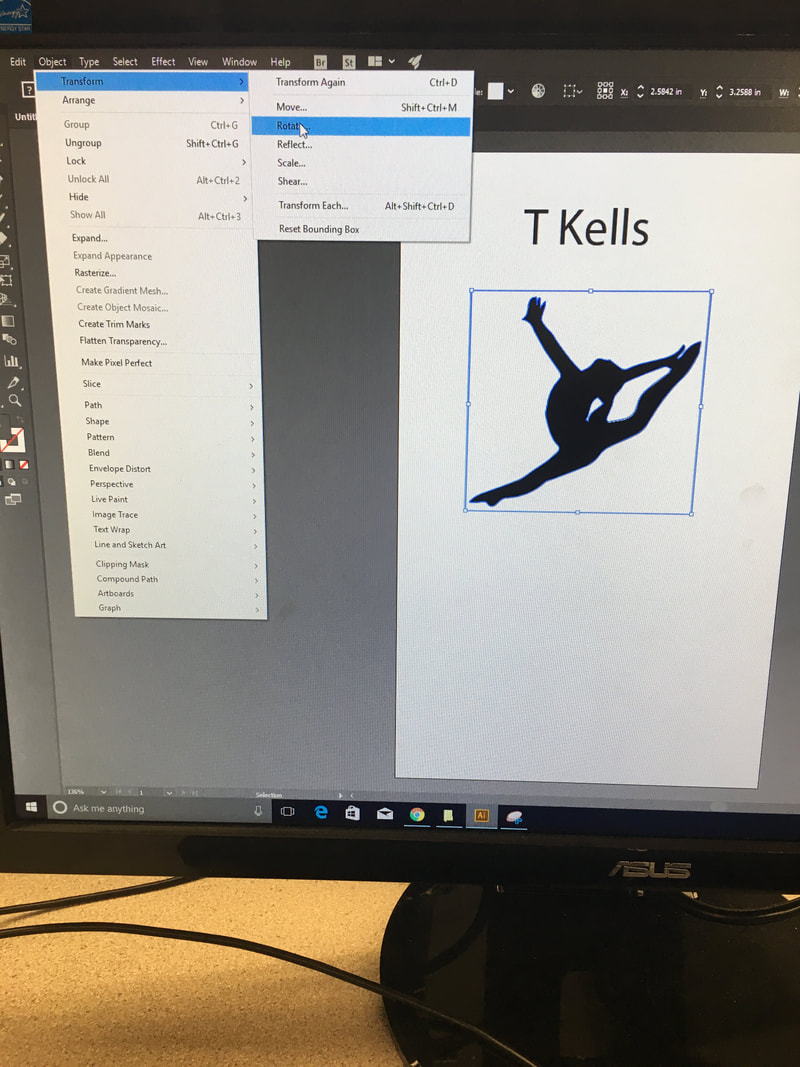
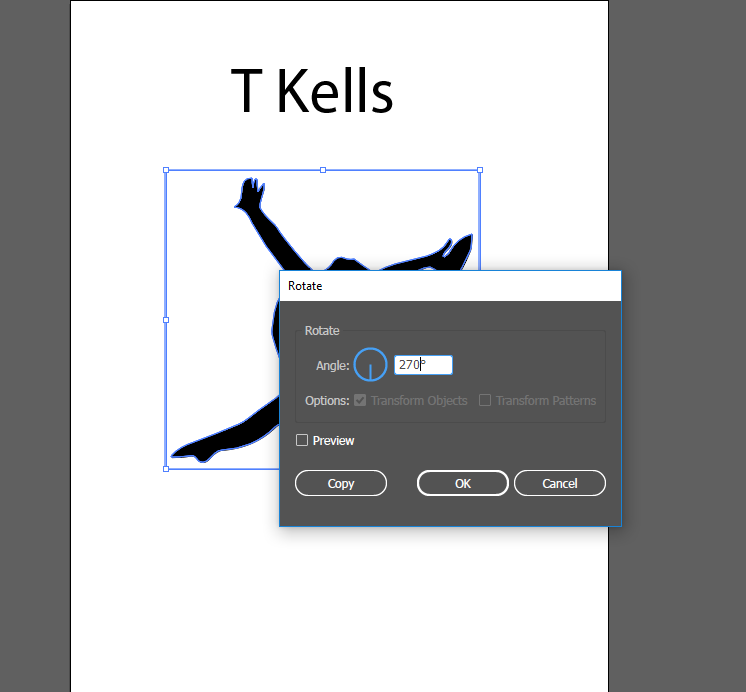
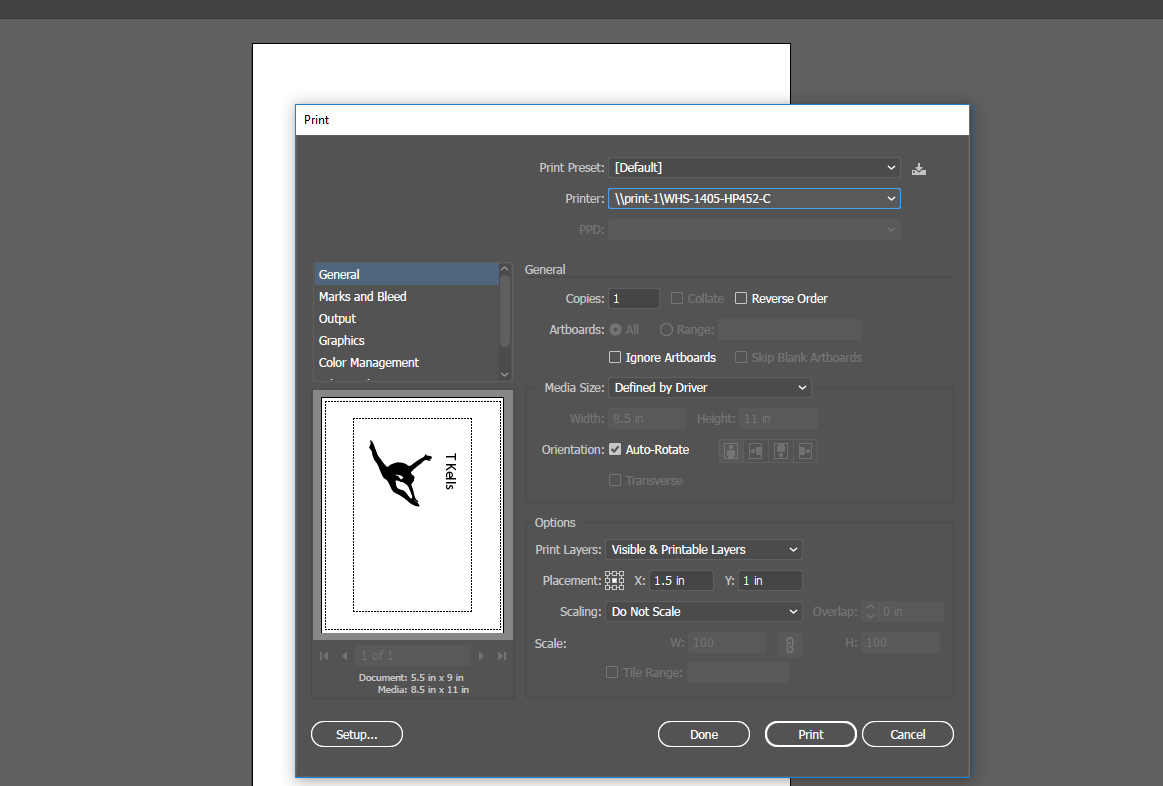
First you need to find the diameter of the water bottle, next for our water bottles we had to open a new and customize the dimensions, making it 18"x 32". After the background is done, create some sort of text and if image, image needs to be a vector image. To make an image a vector image you select the image that you want to be a vector image, then select image trace, then expand, your image will change a little bit. Once you are done select everything you want on the water-bottle and click object, transform, rotate and rotate the image 270 degrees. Make sure the image fits in the background. Upload the image onto a flash-drive. Put the flash drive into the computer that is hooked up to the laser. Place the rotatory Machine into the laser making sure to plug in everything and place in the upper right hand corner. Load the image onto the computer click print, select the laser, then setup, preferences make sure to take the diameter of the water bottle and click rotary. Select the type of metal and click print and then print again open up the UCP and make sure to line up everything. Make sure to turn on the exhaust before you turn on the laser. Close the door and click the play button.
|


ThingIverse
|
|
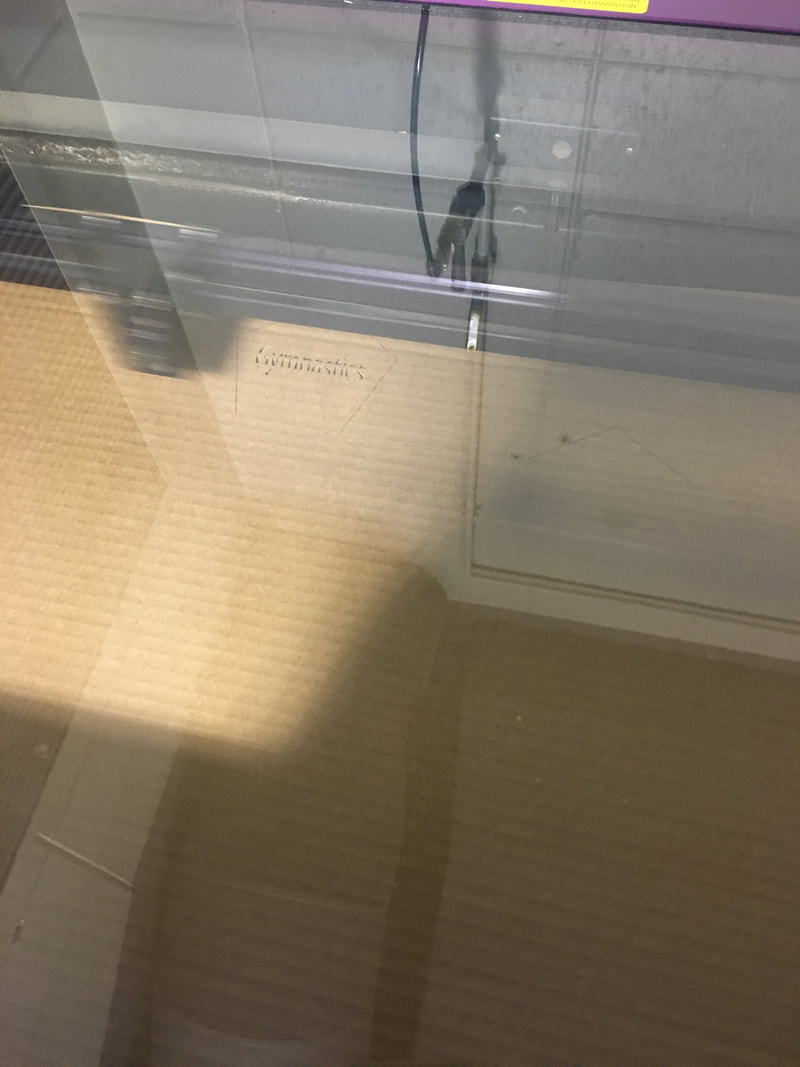
Pick something off of THINGIVERSE making sure to use "Laser Cut Cardboard", find something you like and want to print. Click download all files, save to your drive open the custom dimensions of 32'x 18" with the saved file. Everything that is being cut out make the line .0001 and red Make sure to turn on the exhaust before you turn on the laser. Put the flash drive into the computer that is hooked up to the laser. Grab cardboard that is 32"x 18" and place in the laser cuter. Load the image onto the computer click print, select the laser, then setup, preferences make sure to take the width of the cardboard and select the material, mat board. click print and then print again open up the UCP and make sure to line up everything. Close the door and click the play button.
|

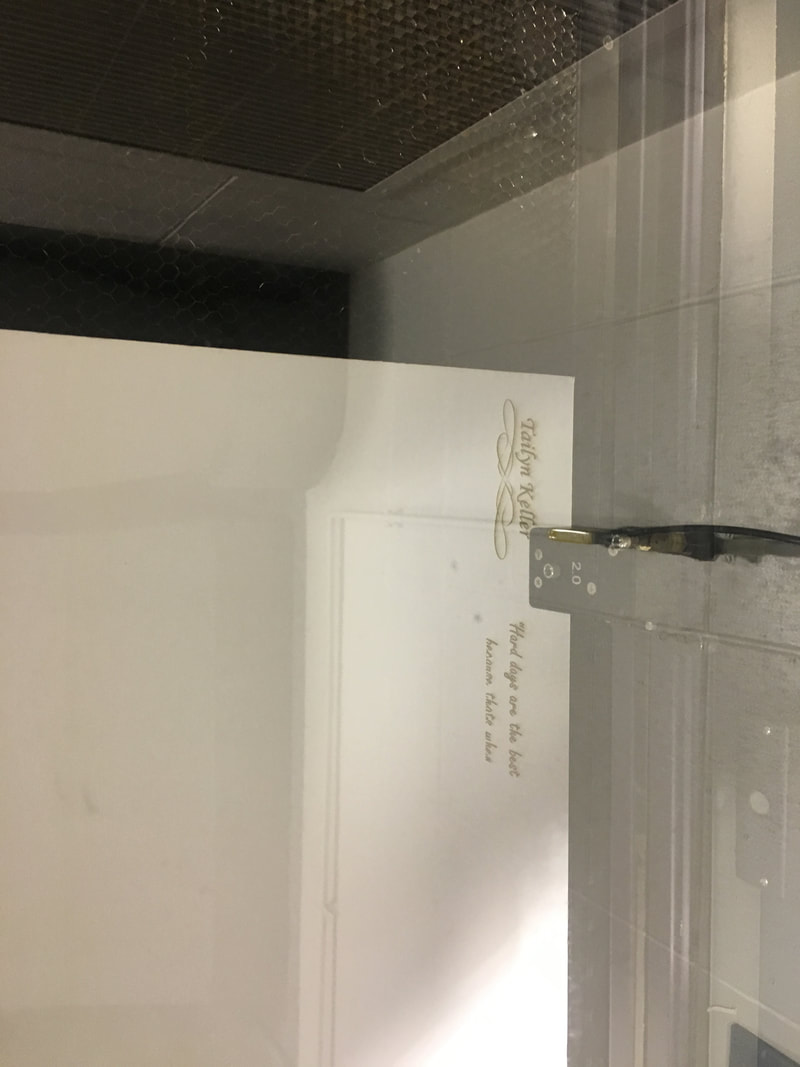
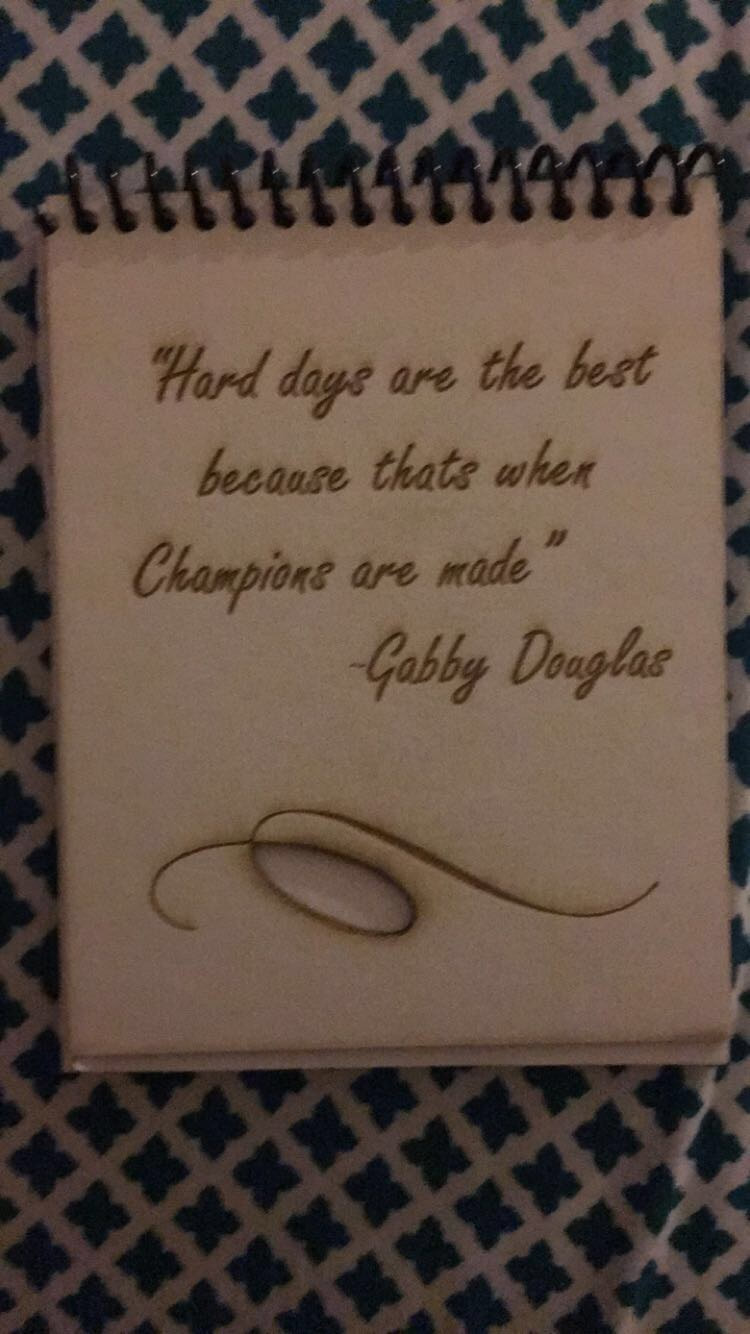
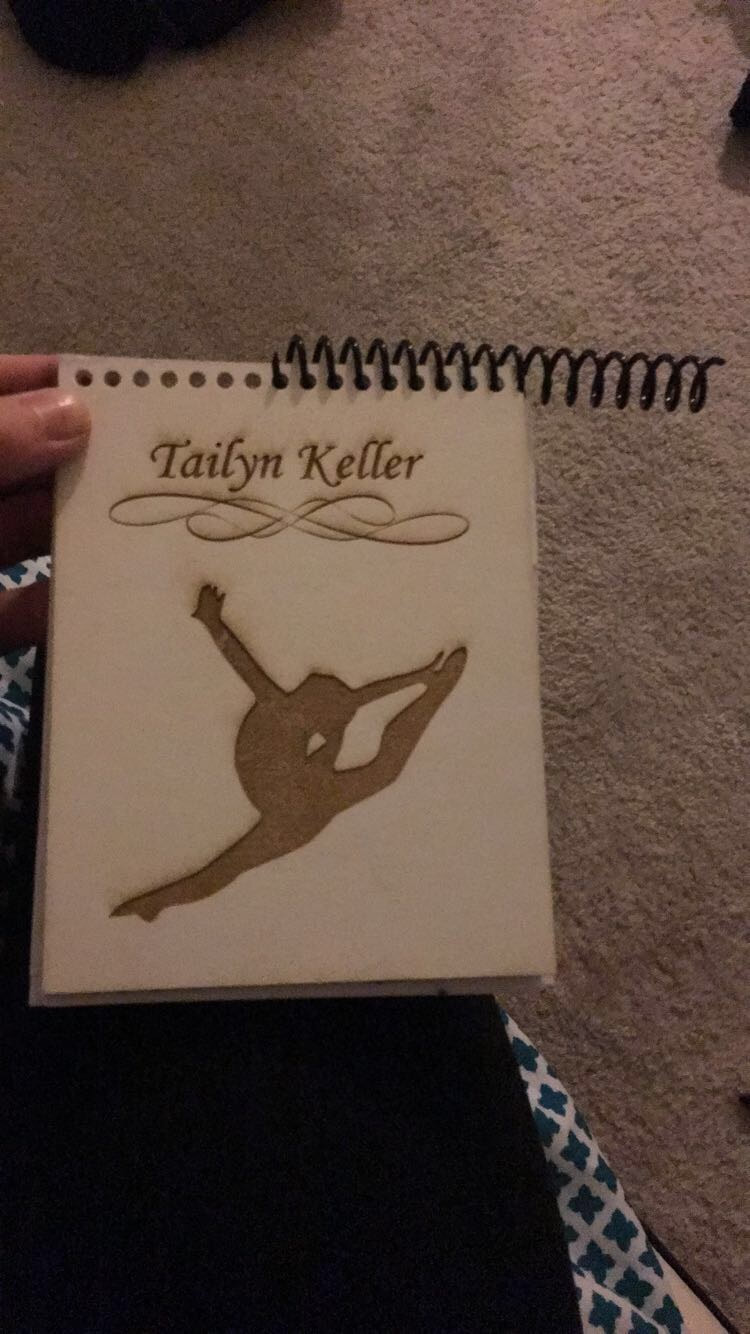
Notebook
|
|
Open up a new file selecting the dimensions you want to use, 4.25" x 5.5" make a copy of of the rectangle and make sure the outline is of the rectangle is red and .0001. Once the outline is done pick an image making sure that something is going to be cut out and some sort of text and it can be on both sides or just one. Then once you are done, make sure that it is correct dimensions and load onto a flash drive and load onto the computer to laser. click print, select the laser, then setup, preferences make sure to take the width of the mat board and select the material, mat board. click print and then print again open up the UCP and make sure to line up everything. Close the door and click the play button. Once printed out grab 10 sheets or 40 sheets worth and cut them into 4.25" x 5.5" punch spiral holes using a spiral hole puncher into the top of all 40 sheets and the cover and back cover of the notebook. Grab a plastic spiral and weave through all the holes until each one is done, then cut the excess off.
|
What I learned
In this rotation I learned that in order to complete these tasks, there are a lot of stressful steps that NEED to be done, but if you just take a step back and don't freak out the first time something fails, the projects will not only look cool, but it will be fun. In third rotation I also learned how important time was and how you had to do everything very quickly without mistakes since we had to do 3 projects in 4 days and some things took 2 class periods to do. All in all favorite rotation mostly from the water bottle.
