Star map projector
I decided to do a star map projector for a present as someone for Christmas. The present is very important to me and had to be done by Christmas. The star map is from one specific day, and the rest of the projector needed to look modern and clean, but with a rustic kind of feel.
Initial Design
|
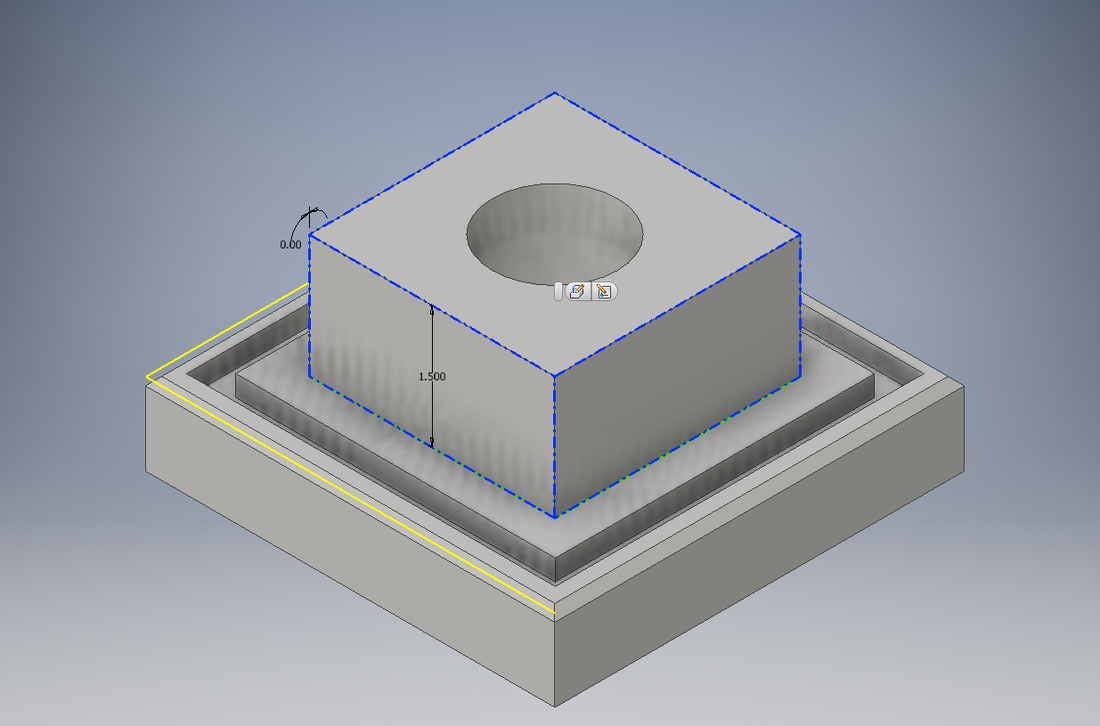
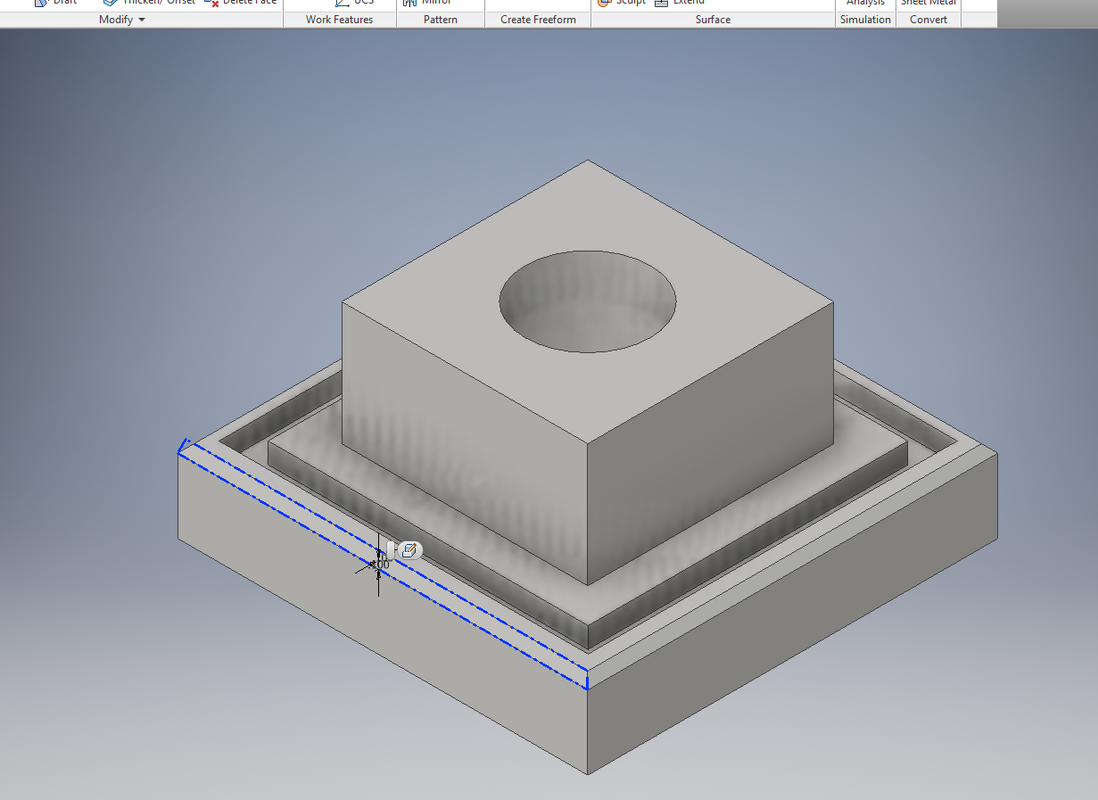
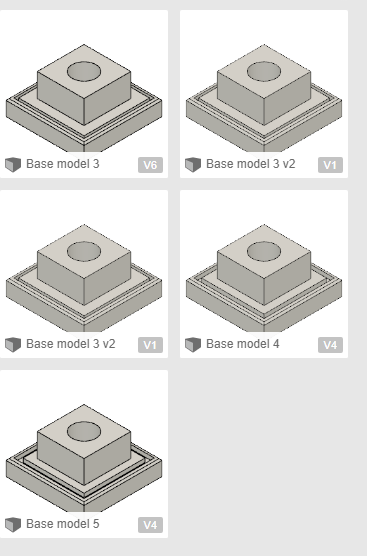
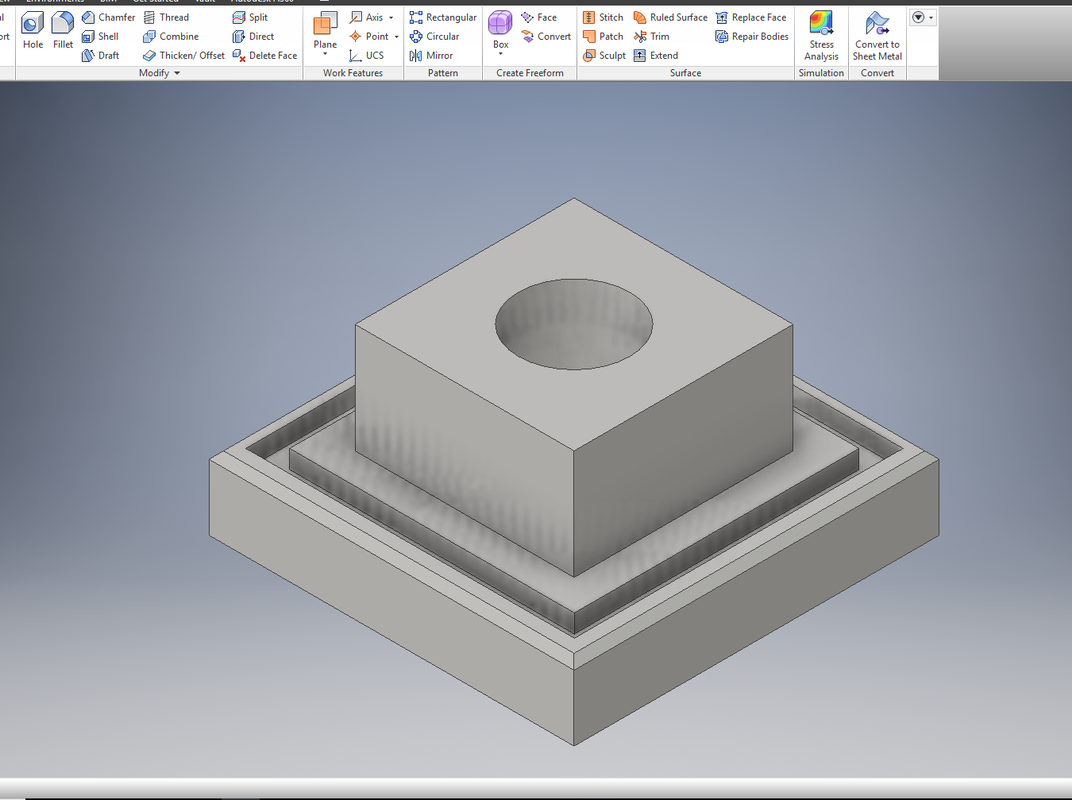
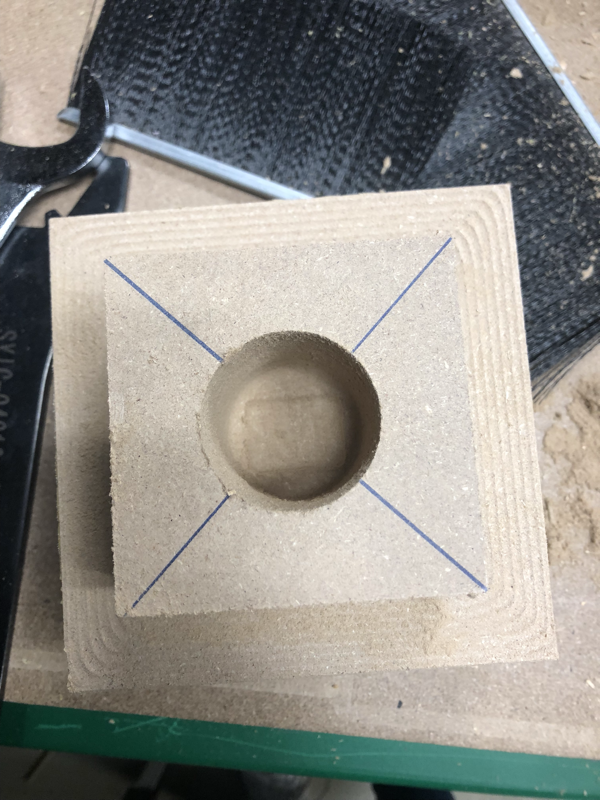
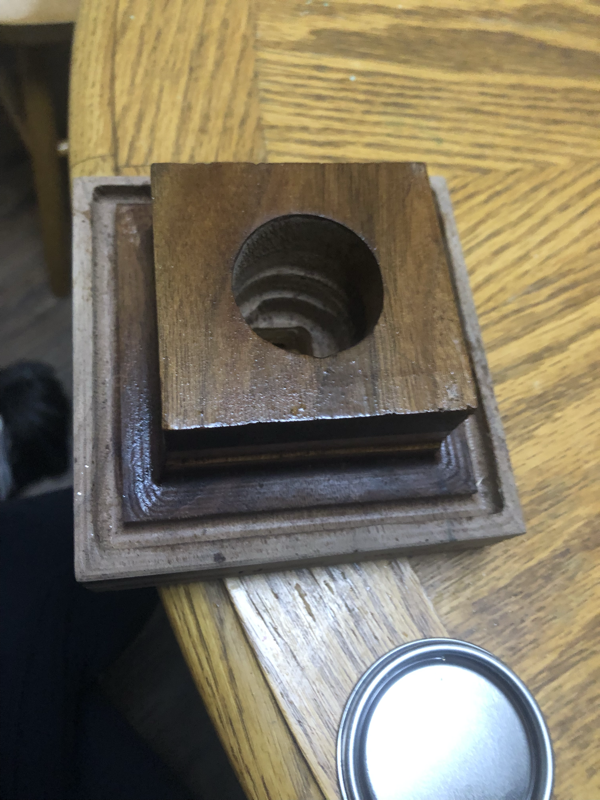
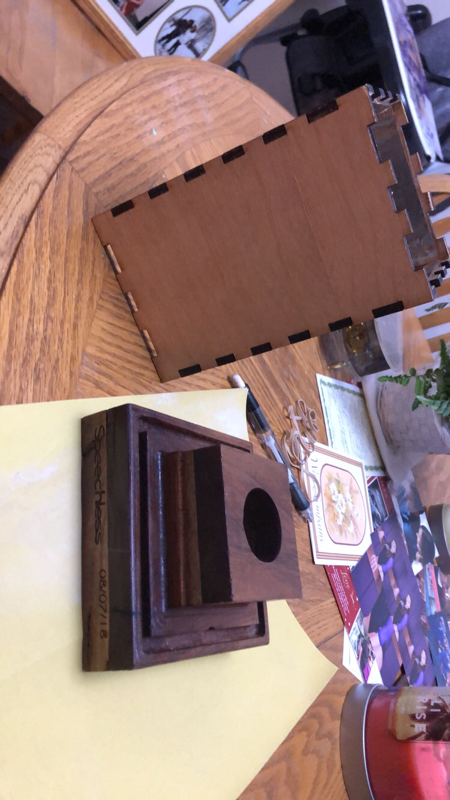
It took me 4 different times to find the correct base I wanted to use, first I had a circular base, then I went to a square base, but that version was too tall and didn't look right in the end. I ended with a 5"x 5" square base that went up 1" and then in the center a 3"x 3" square that went up another 1 1/2". A hole needed to be drilled in the center of the top square in order to place the lighting fixture. I also found out that there needed to be a square drilled out at the bottom of the circle since the circle only goes through about 2" of the base to fit the plug-in through.
|
|


Prototype
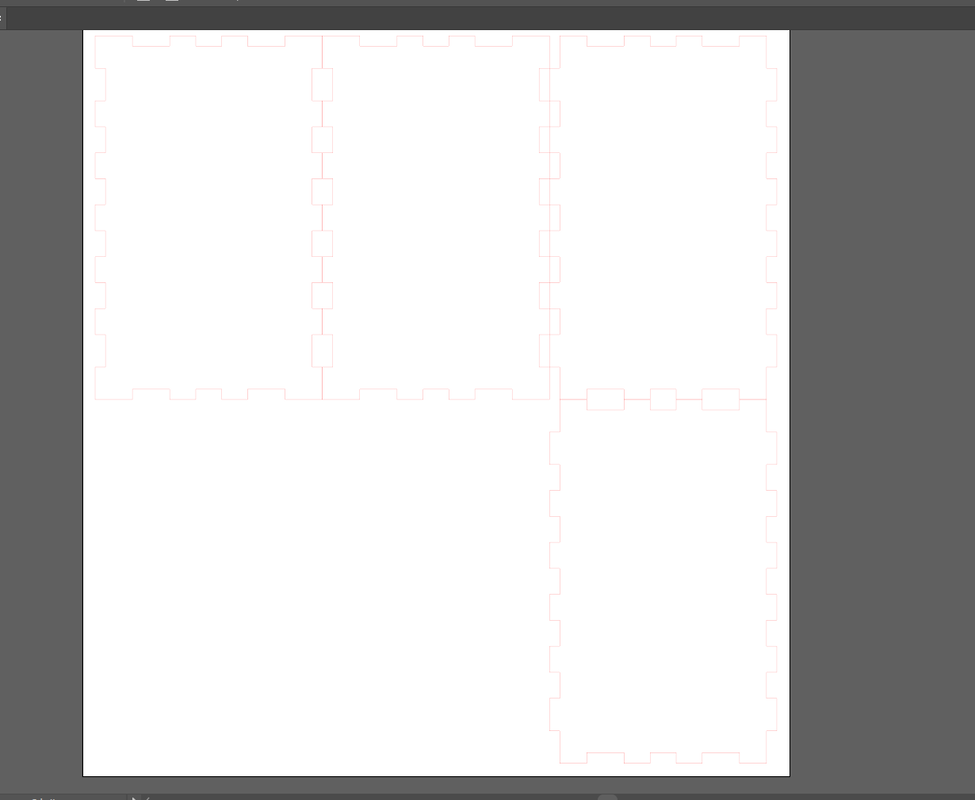
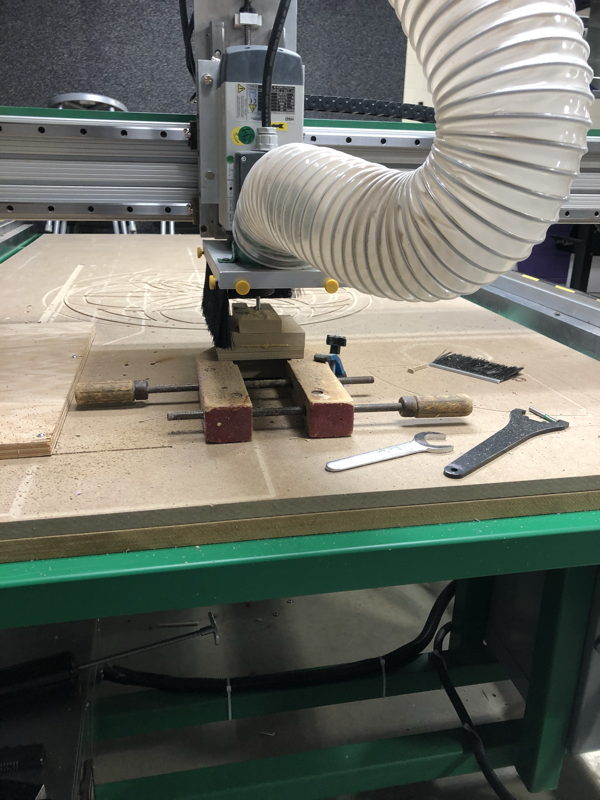
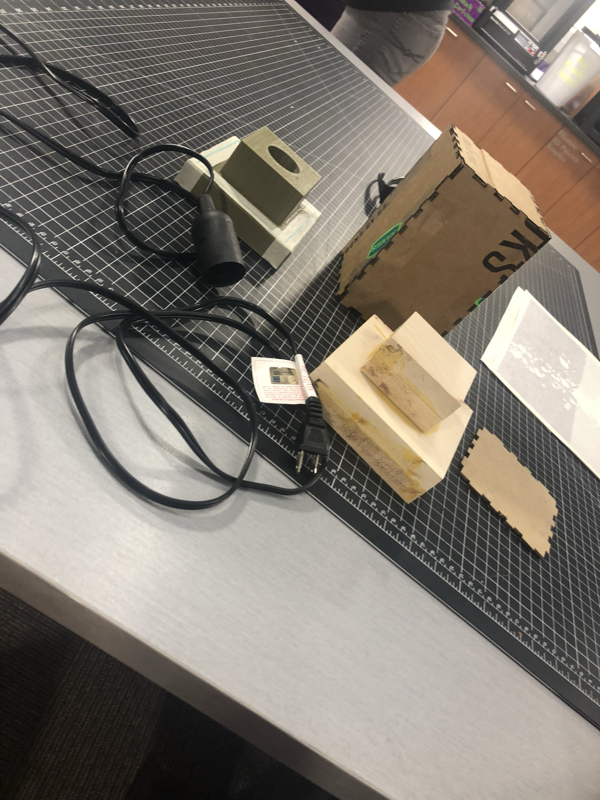
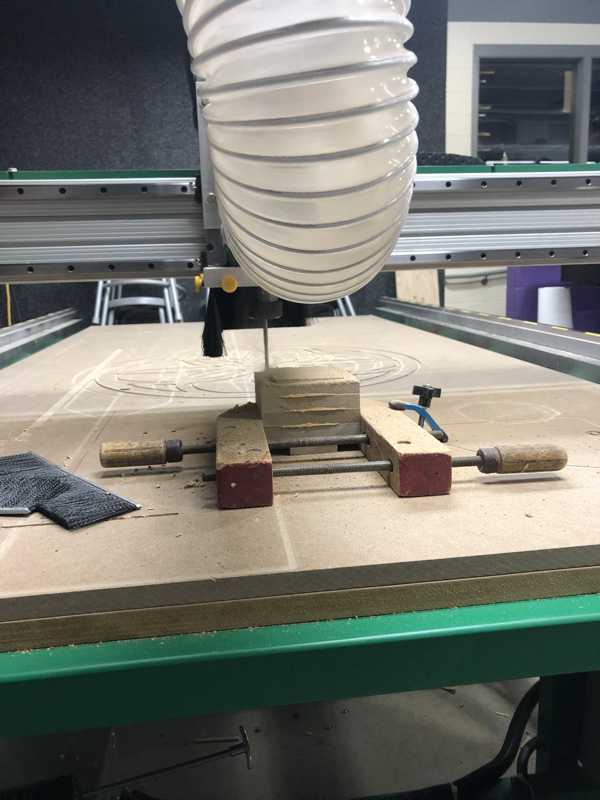
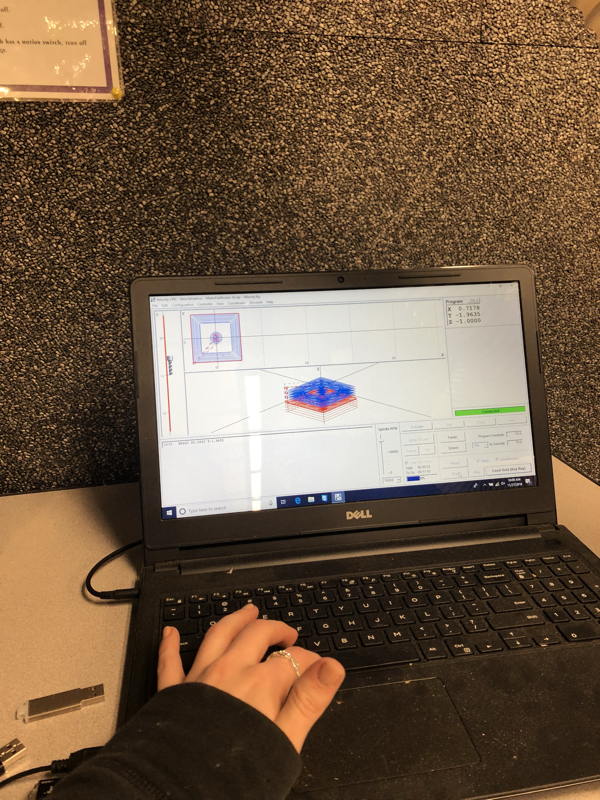
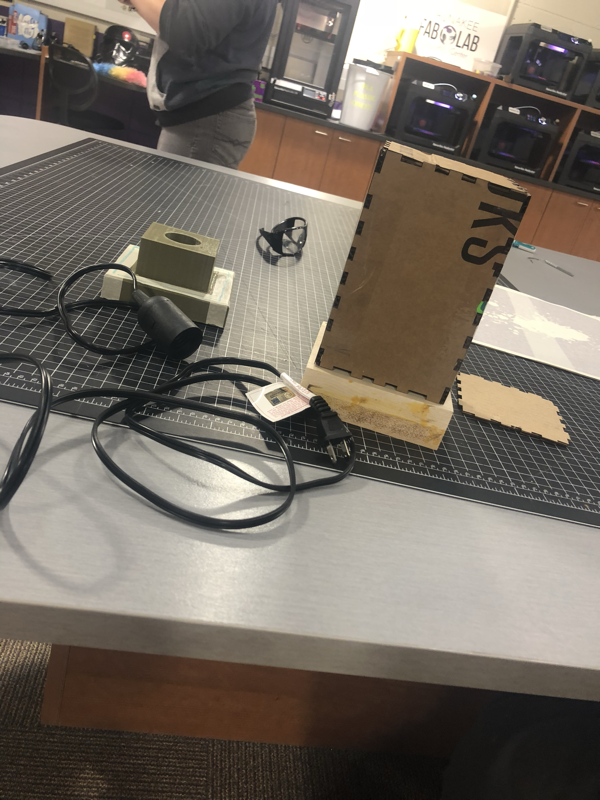
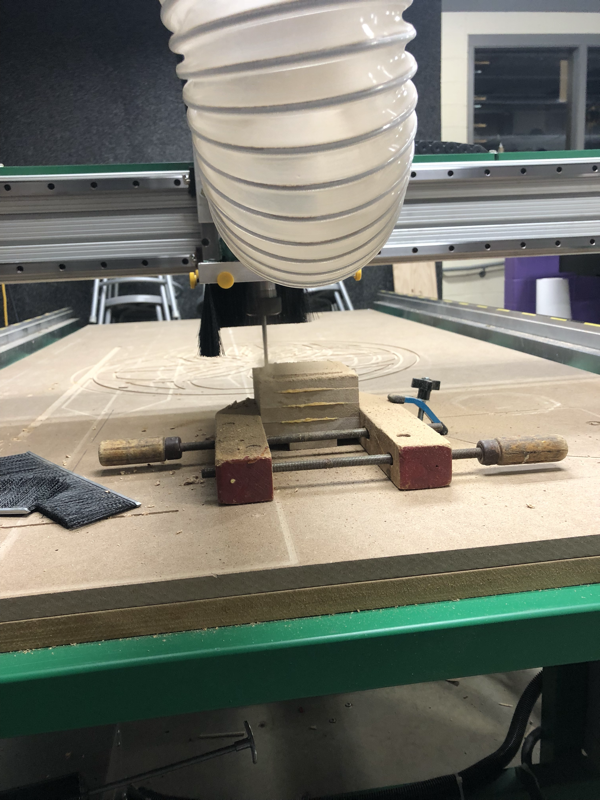
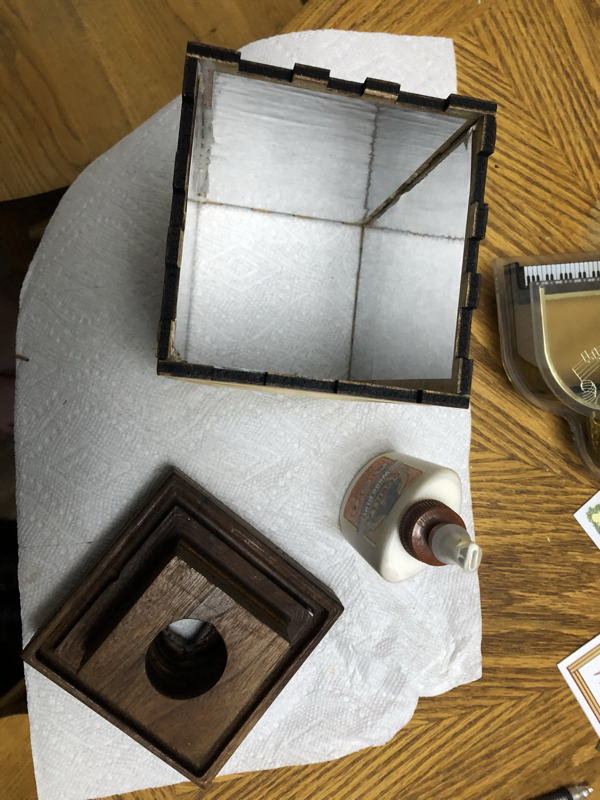
Once I had the initial design I needed to be able to 3-D print a prototype and make sure that it would be able to hold the lighting holder and work properly. Then came to the prototype of the walls. I used cardboard cut out from a random box. I used the website MakerCase and changed the dimensions to 4.5 for the width, 7 inches for the height and 4.5 inches for the depth. The nice part of the website was that it generated the laser cut plan for you. once I put the file on the laser, I fired it up and just made it sure no fire was started. CNC router was next, I transferred the file into Fusion 360 and had to do 4 different files in order to cut out the base for the star map, using contour and adaptive clearing. I had to cut out 4 pieces of plywood 5.5"X 5.5" and glued them together in order to cut out the base on the router, Mr. Willauer came up with idea to use a small sacrificial piece on the bottom in order to cut out the entire base. I drilled the two clamps on the CNC to hold the base down and set up the CNC to cut my project. I had 4 different files that had to be run because two of them were on the bottom and two were on the top. We ran it and decided that we were just going to go back to the sketch of the project and make the sections that had to be cut out on the base bigger or the same size as 1/4".

Final
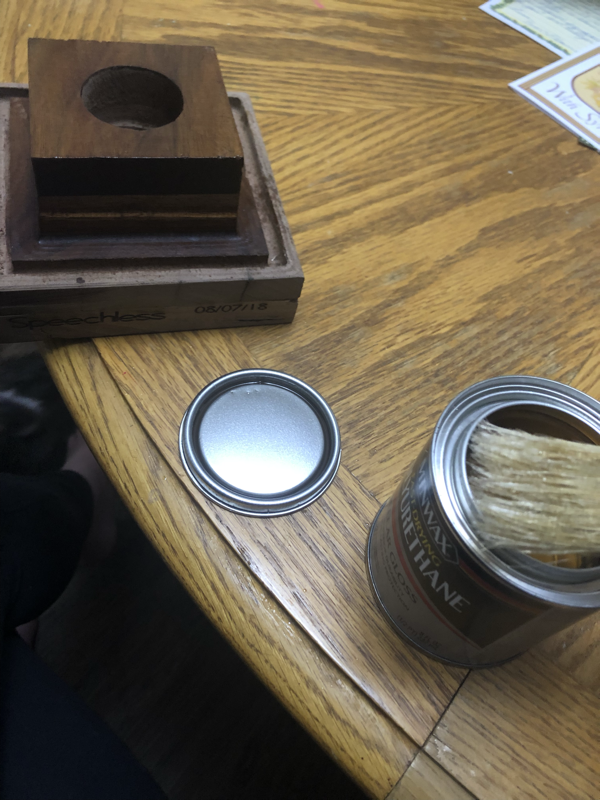
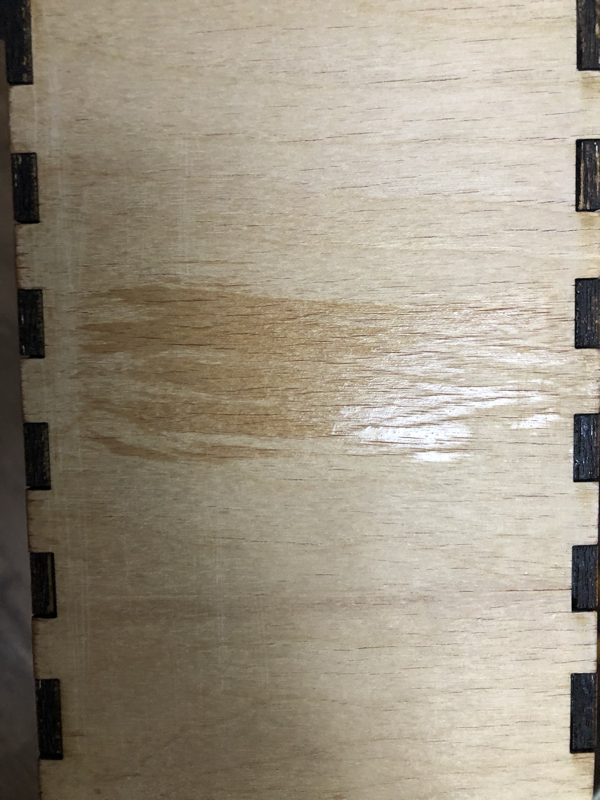
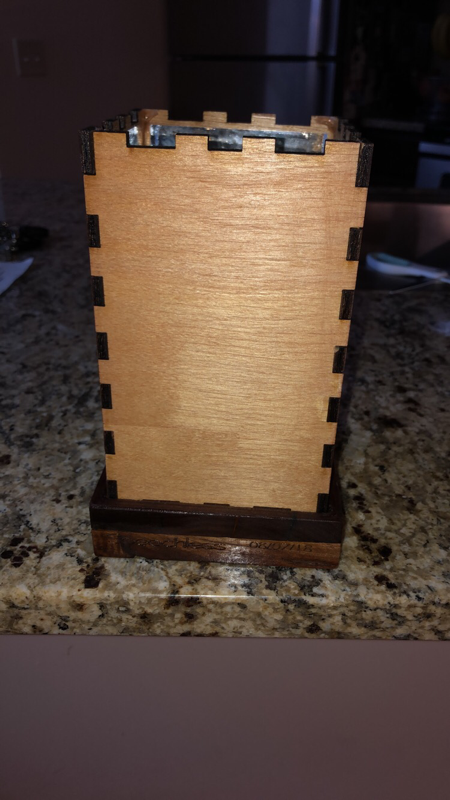
Once I had finished the prototype of the wood base and cardboard walls it was time to do the final. We started with the base since it was going to take the longest to do. I had changed the files for the CNC paths and had everything ready to go. I decided not to do the sacrificial piece and I went with a darker wood. I glued four 5" X 5" pieces together all 1/2" thick. Once the glue had dried I set up the CNC and was ready to cut the base. Once the top part of the base was cut, I flipped it over and cut out the bottom. I moved to the walls using Cherry wood. Made sure the file had the correct thickness and went to cutting. I had everything ready to be put together. I just needed to cut out the top and put Vinyl on it that had the star map.
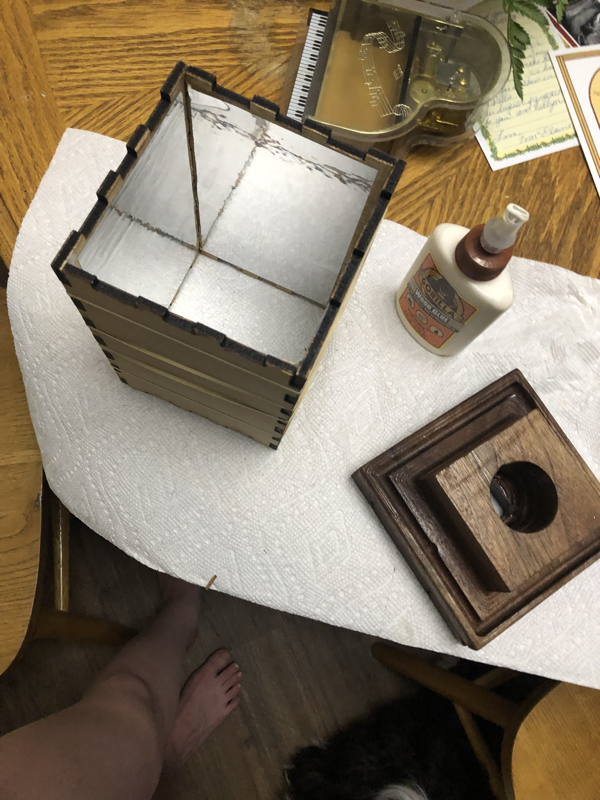
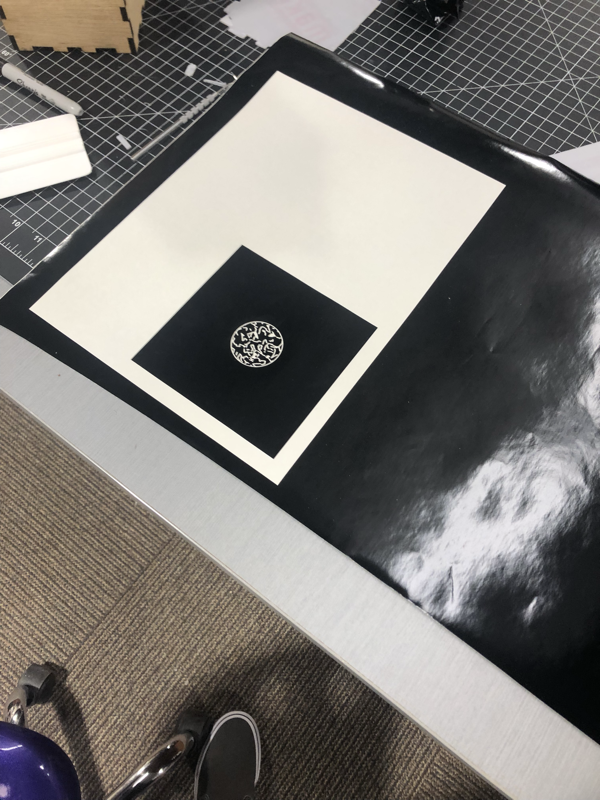
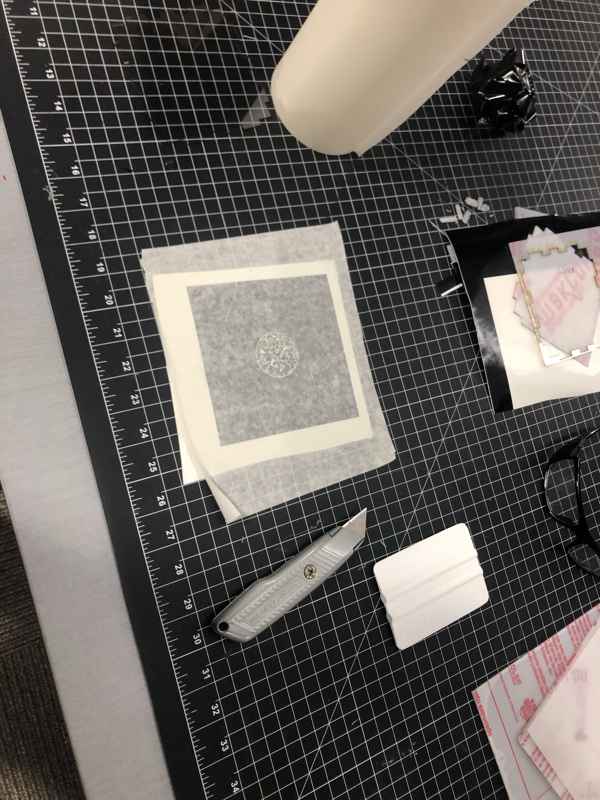
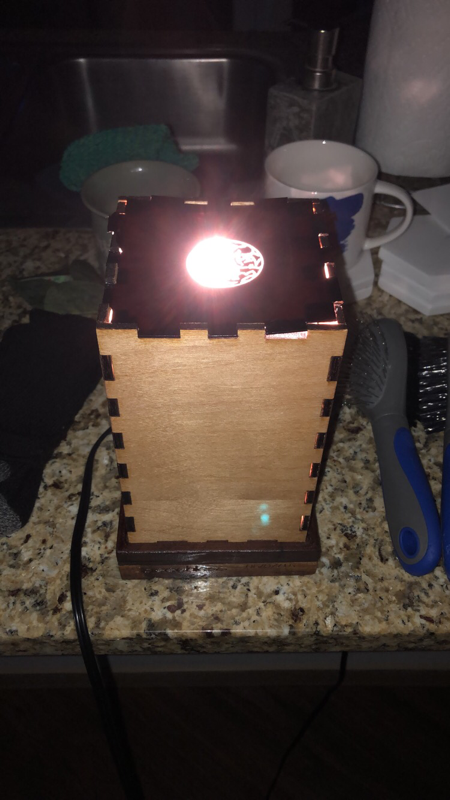
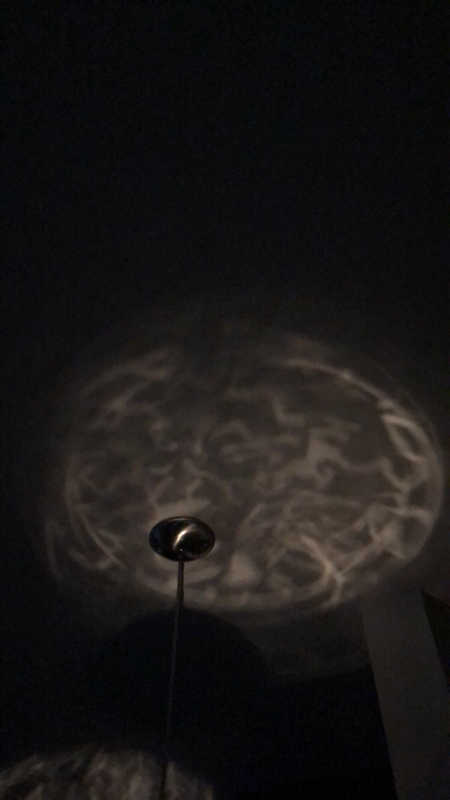
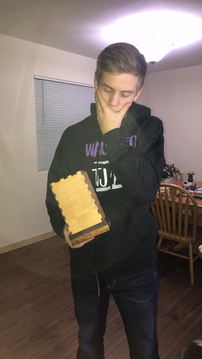
Star map
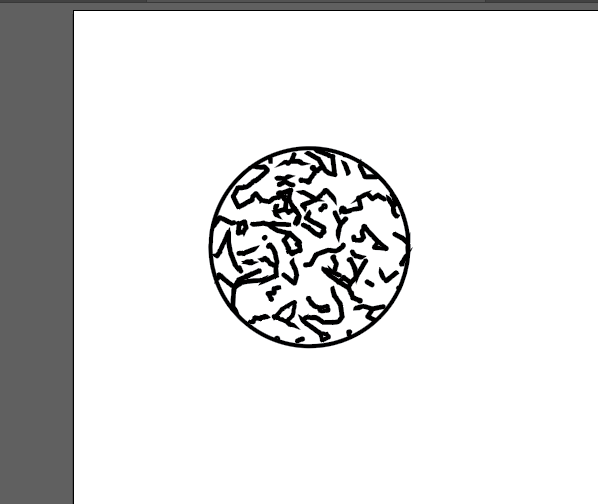
I had cut out the acrylic that was extremely close to the same thickness as the wood walls, next I had some help from Mrs. Proctor who had changed the star map so that when I change the thickness the vinyl cut is that thickness instead of the middle lines that was in each and every constellation. I brought it home almost ready to give, except I had to glue the walls and finish the wood. I test it before gluing it to make sure it worked and the map was distorted from how thick the acrylic was. So I thought if I make the star map smaller it would work so I reprinted it making it 1/2" in diameter. I sadly did not work so I had to take to one of my dads employees about glass and plastics and what I should use. I went to Laird Plastics and got 7 small sheets of extremely thin polycarbonate. The 1st time I tried cutting through it and it just took too much time and I was too nervous about cutting it in the laser but I gave up and decided to go right for cutting it in the laser. I set up the top file I had already from the acrylic in the laser and set up my small sheet in the laser and ran the laser. It ended up being just fine and so I had to reprint another vinyl sheet to put on this top. I brought it home tested it and it worked. I glued together the sides and finished all the wood. I sadly didn't get it done before Christmas, but it was a late Christmas gift.
Reflection
I learned that even when there are days during this project and I gave up and I just had to keep working and think about the problem from a different angle. Since I already had knowledge on how to run the machines, I learned more about the mentality of doing a difficult project. I needed to stop worrying about the deadline and making the project overall perfect and instead focus on each individual piece as I was working on it. I am very happy that I was able to finish it and I am so happy that I learned new ways to build something I never thought I could. When I first started I thought it was going to be a long shot that I would finish it and the fact that I exceeding my expectations even though there were moments I wanted to give up and just take the F, I kept going and learned new ways to use the machines and programming. I am very proud of the things I was able to accomplish and thank you to everyone who had helped me in this long process.
