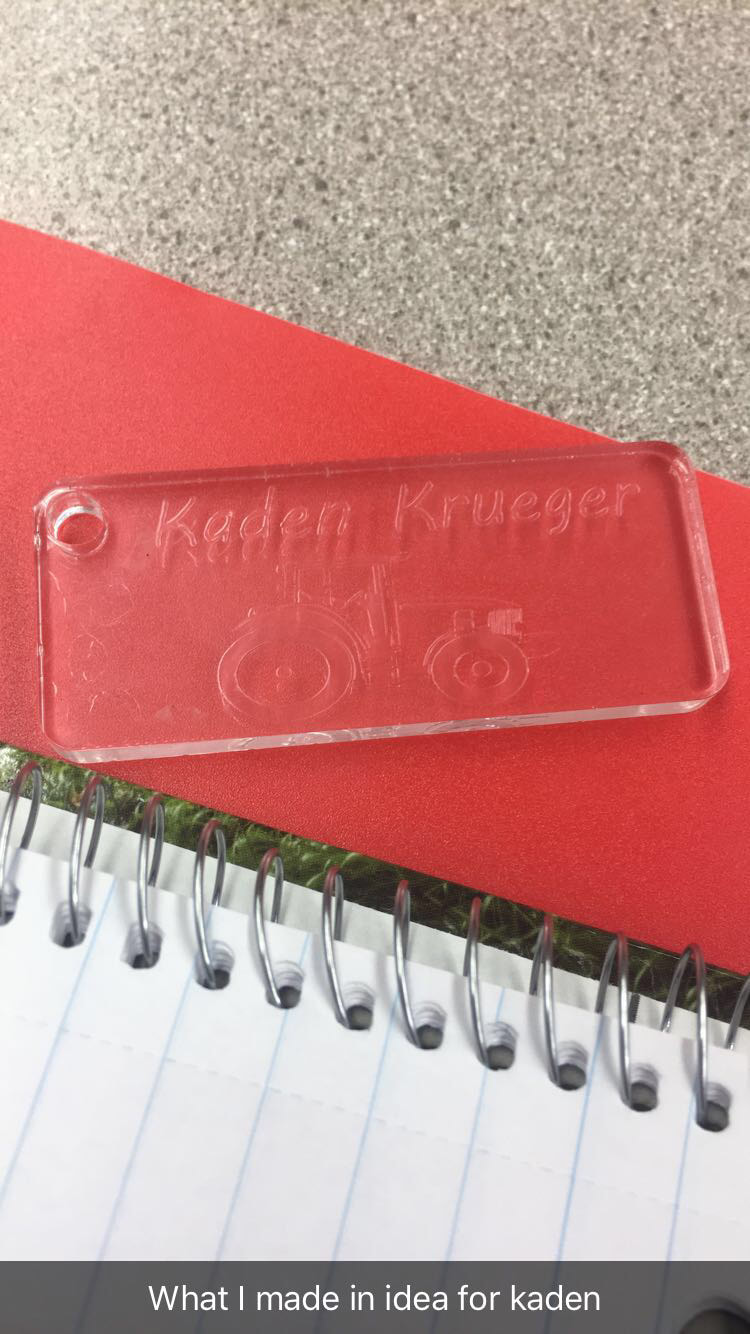
Laser
Keychain
Steps:
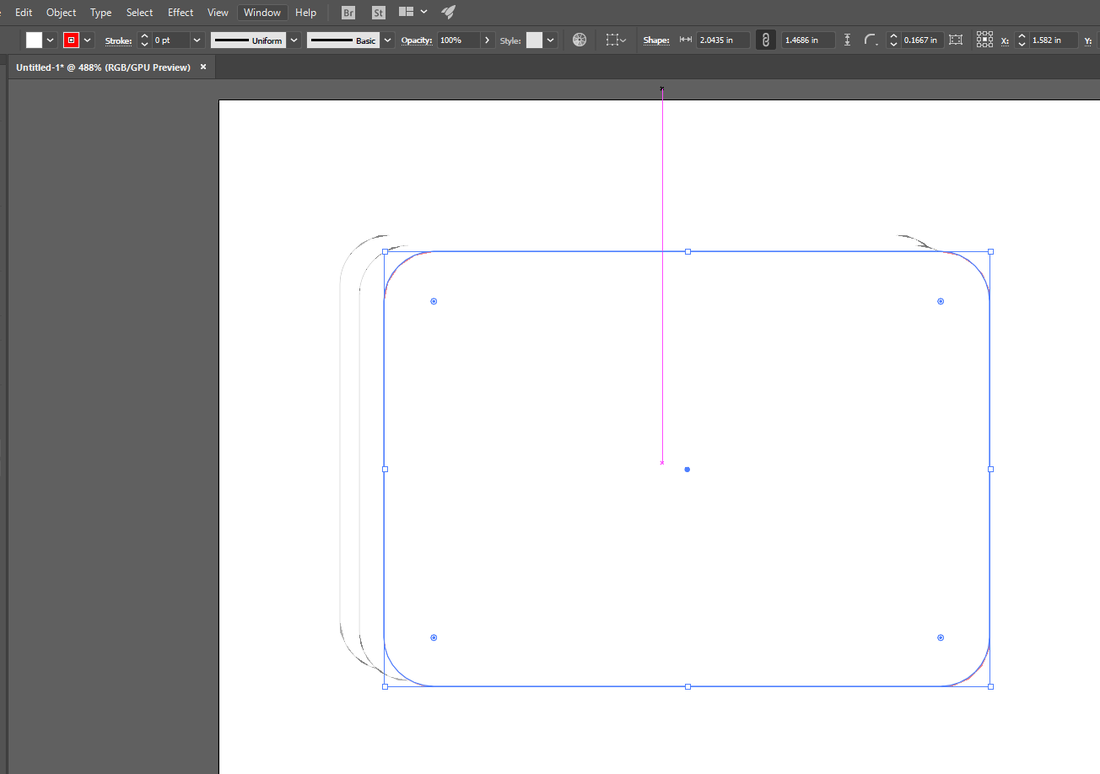
1. Open Adobe Illustrator
2. Click file, new and a box should pop up
3. Click art and illustrator, click on post card, on the right side change points to inches and the width should be changed to 3 and height to 2.5 and orientation should be changed to landscape.
4. Press ok
5. Click shape tool
6. Choose a starting shape for key chain out of the five
7. Once shape is chosen, draw on white background, you can change where the shape is and how it ends up looking
8. Draw a small circle near an edge for the key chain to put on a ring
9. Find an image (Make sure its a vector image) on google and type text in the text box
10. Make the outline of the keychain red (Vector) and make the line .0001, for cutting
11. Move the file from illustrator to flash drive
12. Put the flash drive into the laptop that is hooked up to the laser
13. Open the file and press print
14. Select the laser name and open in UCP
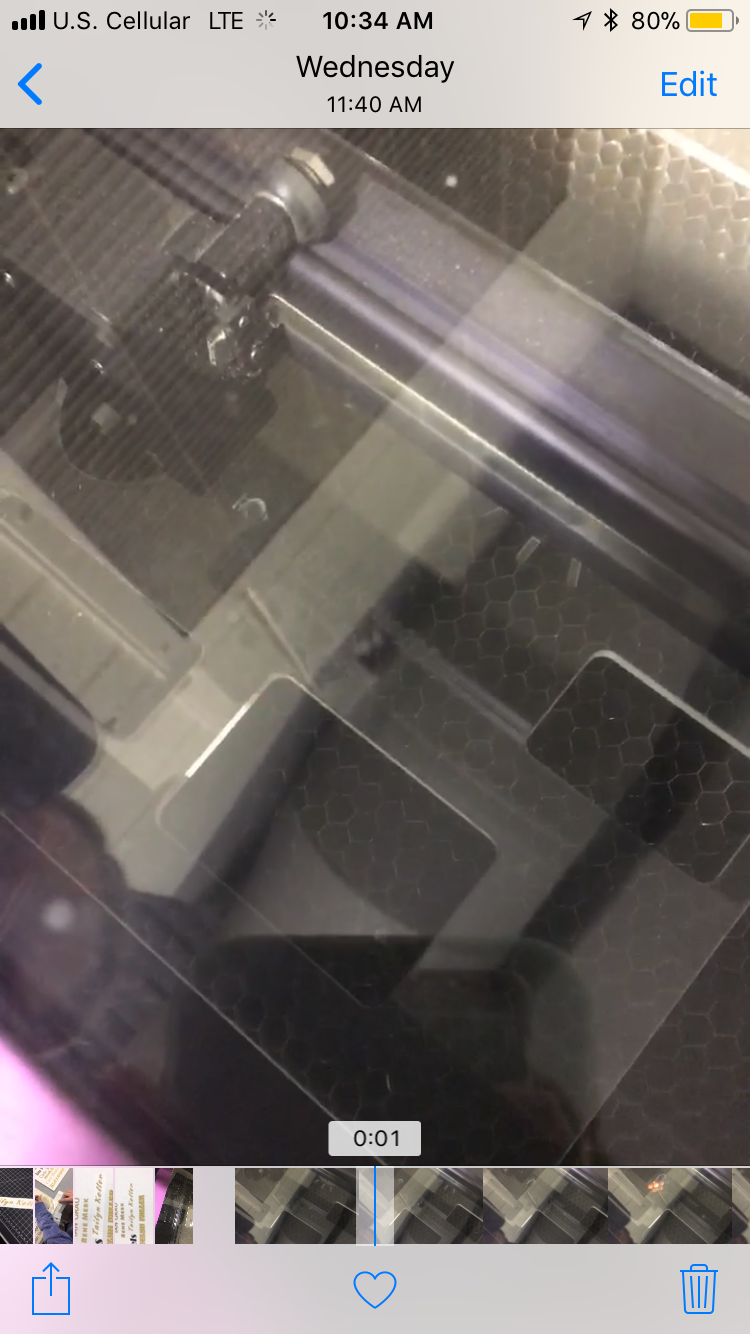
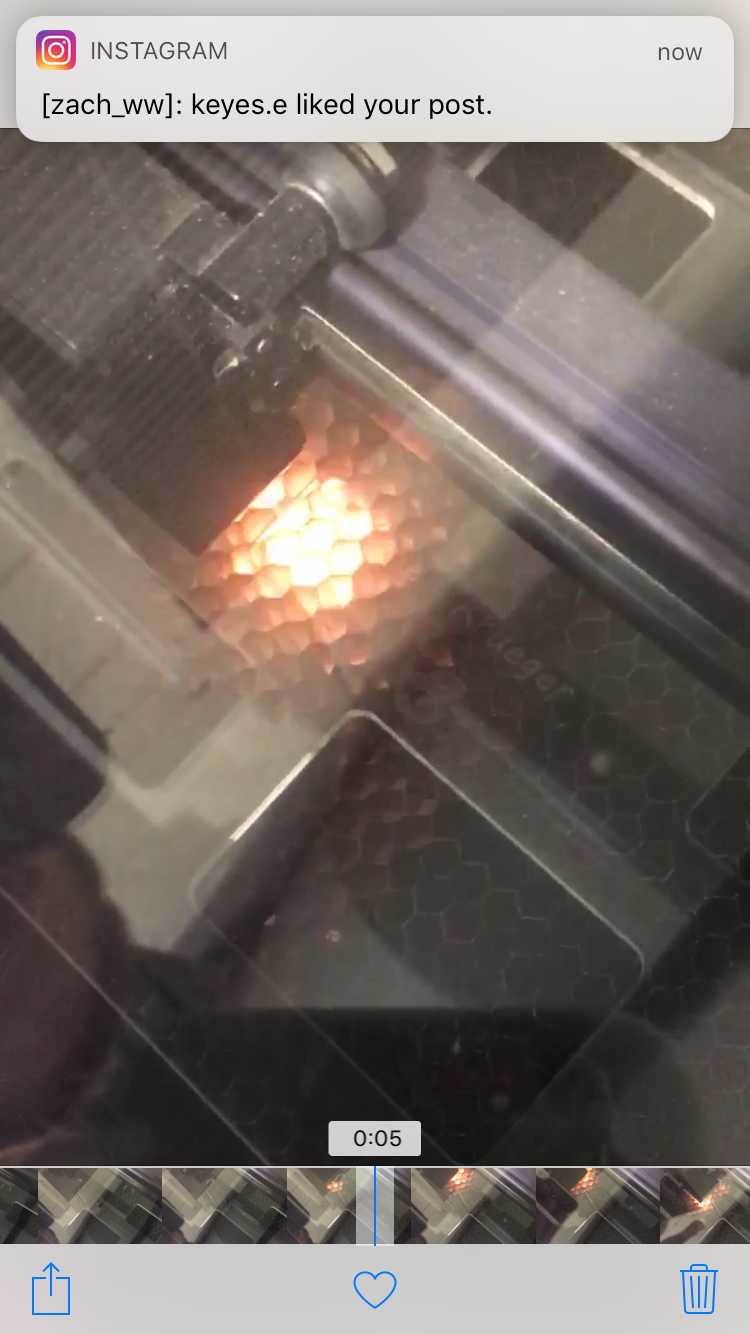
15. Turn on the exhaust, if printing, and select the power button
16. Open your keychain file in UCP
17. Click on funnel tool, making sure that the material is in the machine and the laser is on the material
18. Click one of the points making sure the image will still be on the material and click to pointer
19. Close top door of laser and press green play button
1. Open Adobe Illustrator
2. Click file, new and a box should pop up
3. Click art and illustrator, click on post card, on the right side change points to inches and the width should be changed to 3 and height to 2.5 and orientation should be changed to landscape.
4. Press ok
5. Click shape tool
6. Choose a starting shape for key chain out of the five
7. Once shape is chosen, draw on white background, you can change where the shape is and how it ends up looking
8. Draw a small circle near an edge for the key chain to put on a ring
9. Find an image (Make sure its a vector image) on google and type text in the text box
10. Make the outline of the keychain red (Vector) and make the line .0001, for cutting
11. Move the file from illustrator to flash drive
12. Put the flash drive into the laptop that is hooked up to the laser
13. Open the file and press print
14. Select the laser name and open in UCP
15. Turn on the exhaust, if printing, and select the power button
16. Open your keychain file in UCP
17. Click on funnel tool, making sure that the material is in the machine and the laser is on the material
18. Click one of the points making sure the image will still be on the material and click to pointer
19. Close top door of laser and press green play button
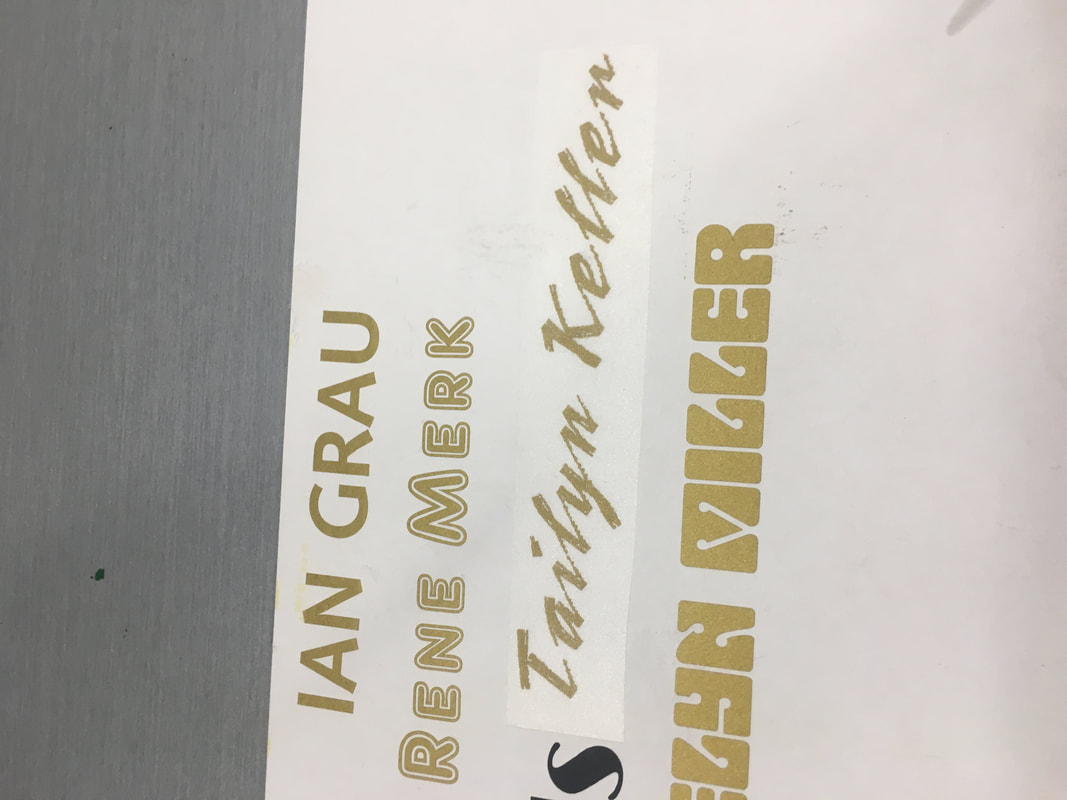
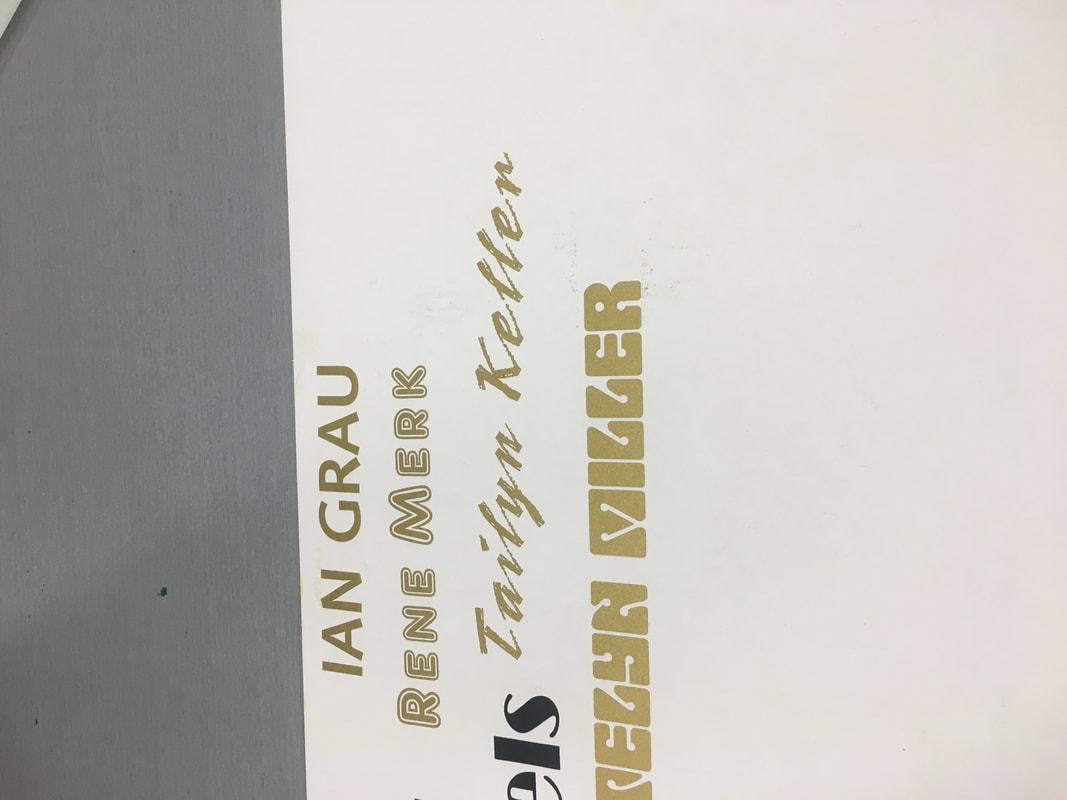
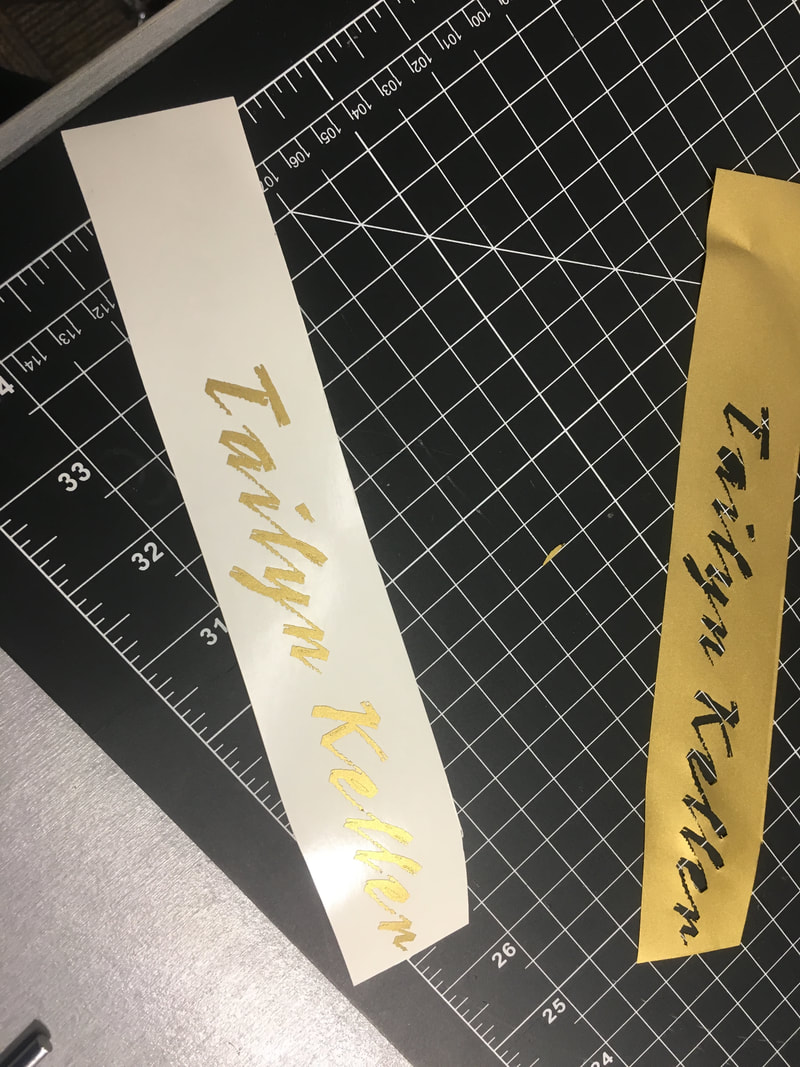
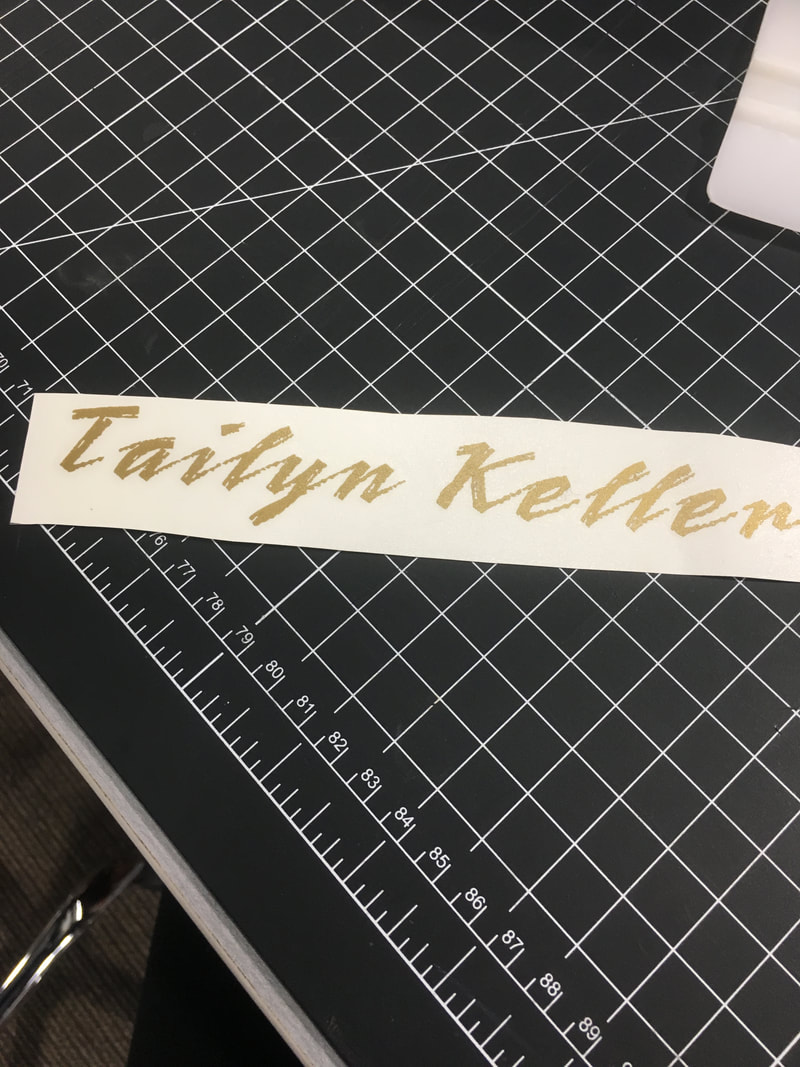
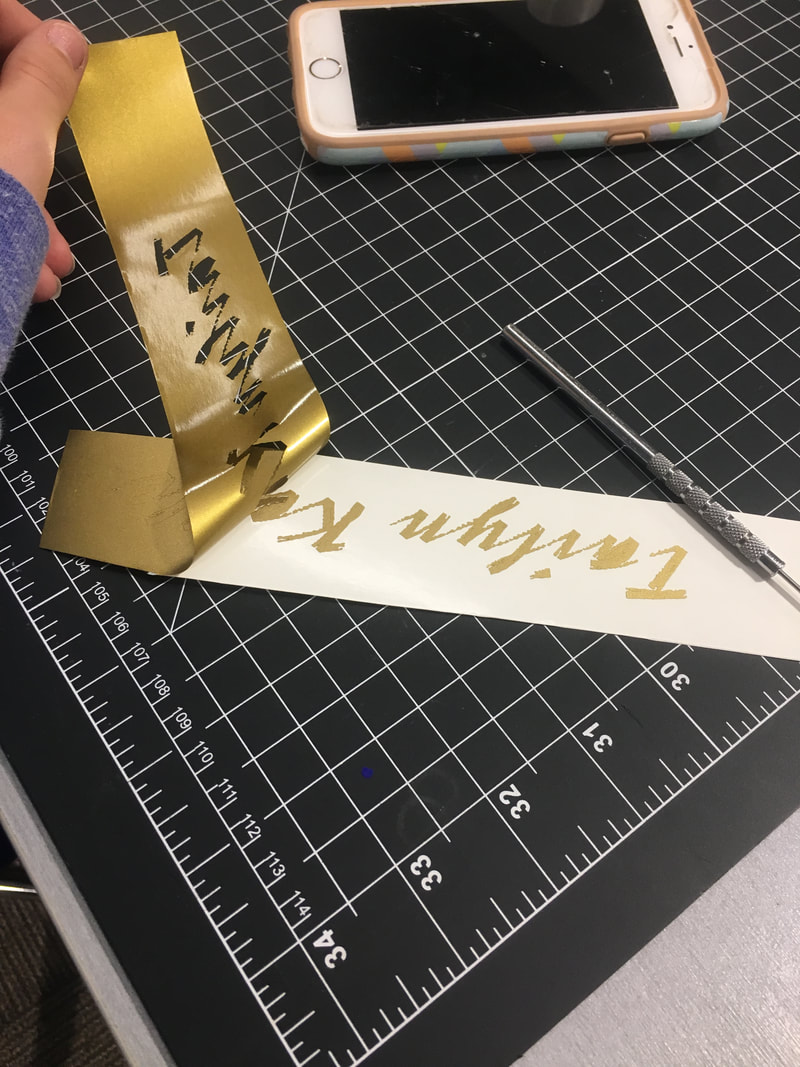
Vinyl
- Type a word or words in Illustrator
- Pick a font
- Pick a material and place it in the vinyl cutter making sure that the rollers that keep the vinyl in place are on the vinyl (give it slack).
- Select the vinyl cutter, make sure that the orientation and size of the words are going to fit on the vinyl, then press Print.
- Cut a rectangle around the lettering using a knife or some sharp object on the cutting board
- In a 45 degree angle peel of the excess material
- Use the dental tool to remove other excess material while removing the excess material slowly move the tool to the points where the material should be lifted called weeding
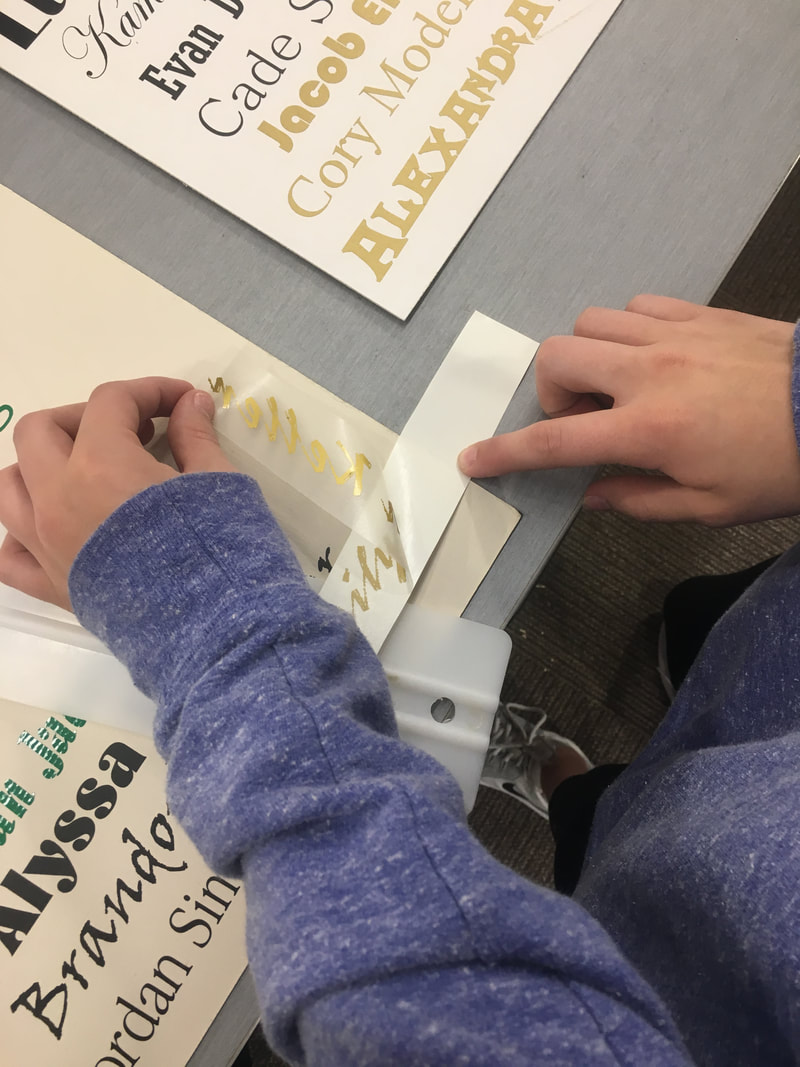
- Peel off some of the adhesive tape and place the name on the tape
- Cut the tape to make sure the rectangle does not have any sticky spots out
- Use a squeegee to make sure the lettering stick to the tape
- In a 45 degree angle peel the letter from backing onto the tape
- Place the name on the board, and use a squeegee to make it stick to the board
- In a 45 degree angle peel the tape off of the letters slowly make sure to weed, using dental tool, anything that is not sticking