CNC Router (widget)
For this project, we had to design the widget correctly in inventor, transfer it over into fusion 360. Once thats been done, prepare it to be cut out in the machine tormach path pilot. Once ready to cut, cut it out and make sure it is stuck on.
Steps
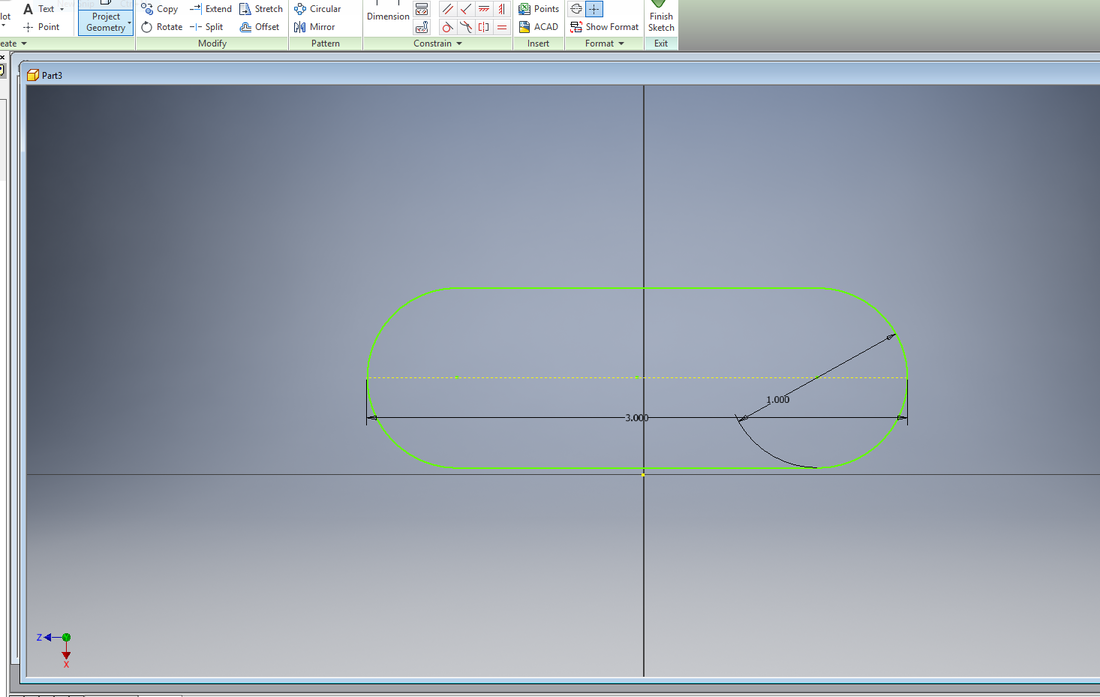
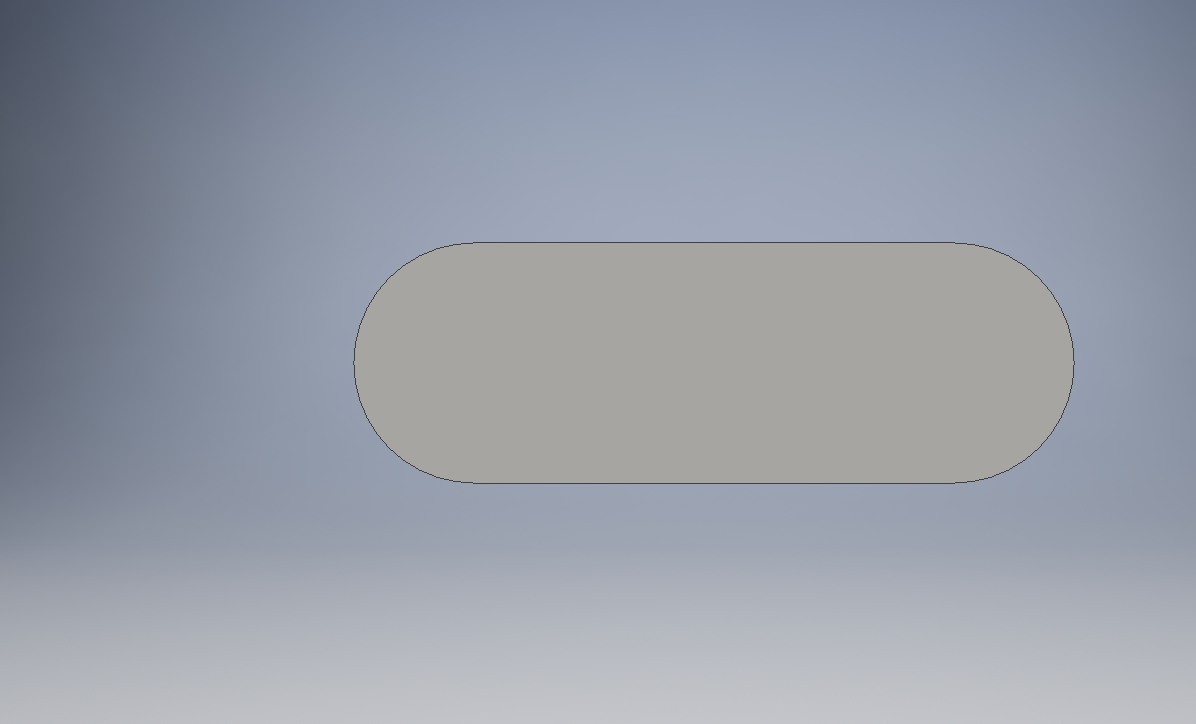
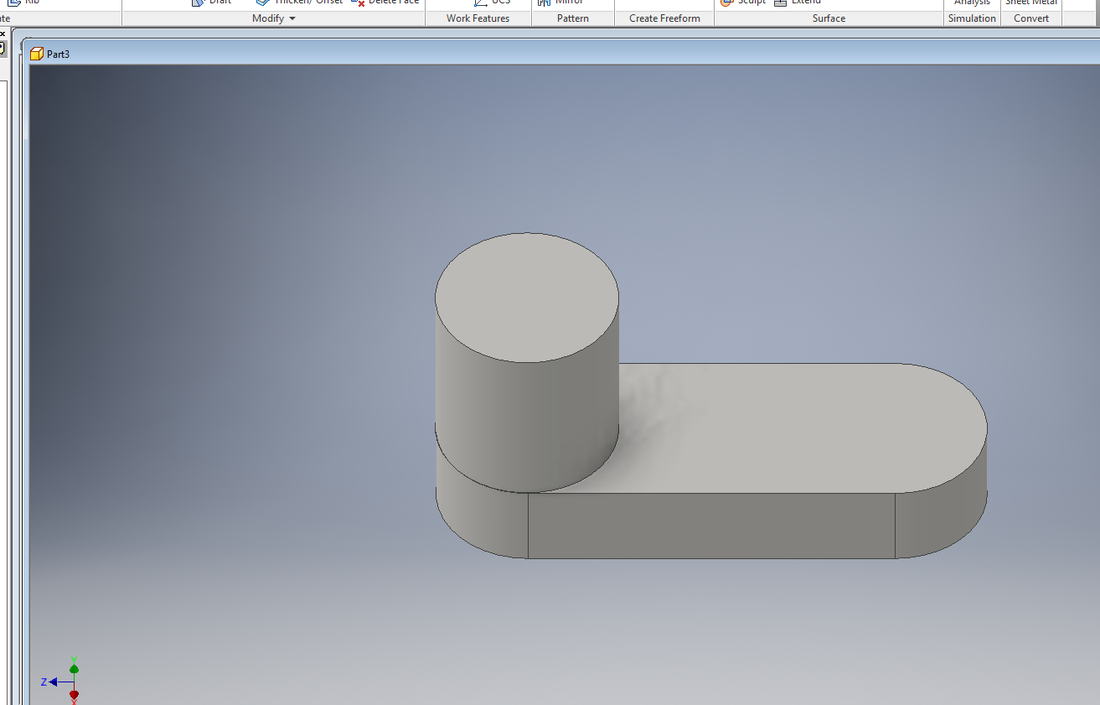
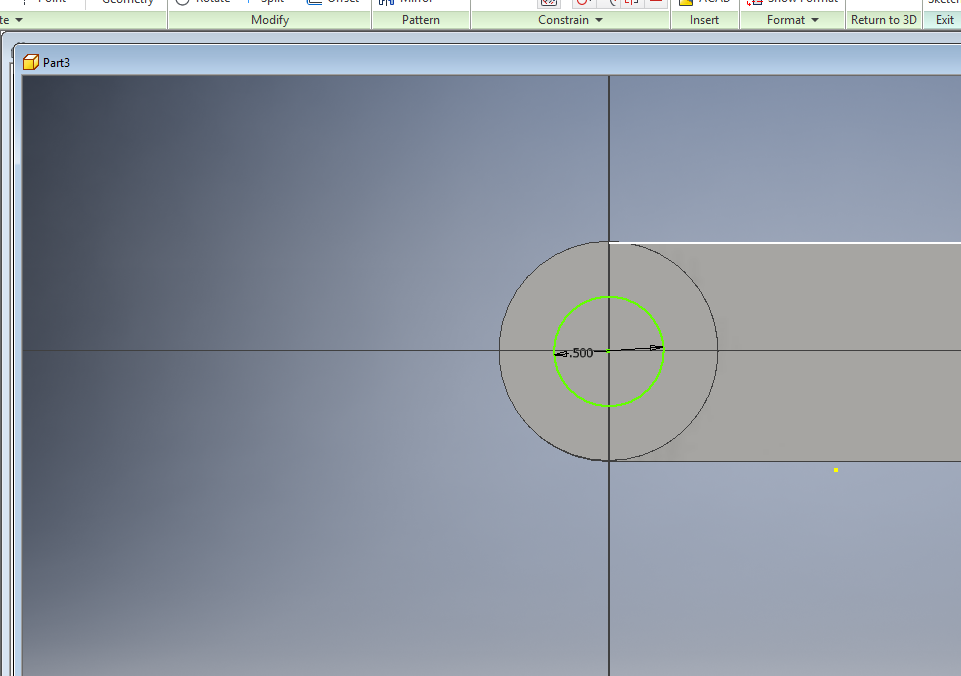
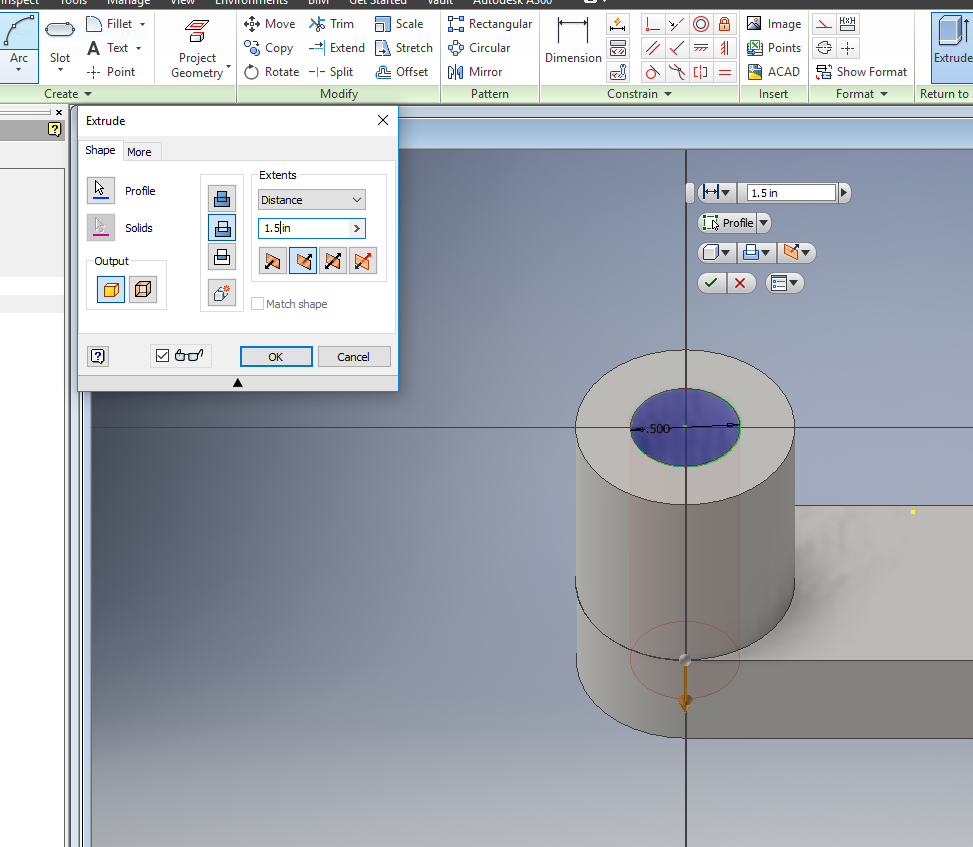
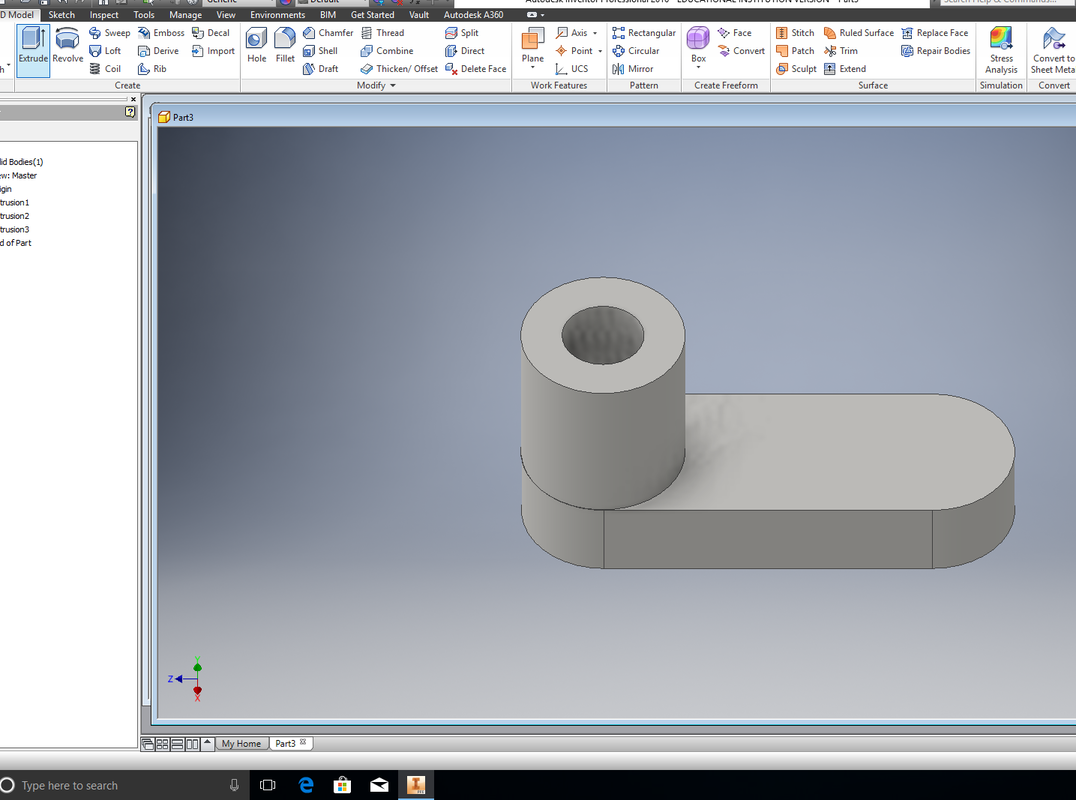
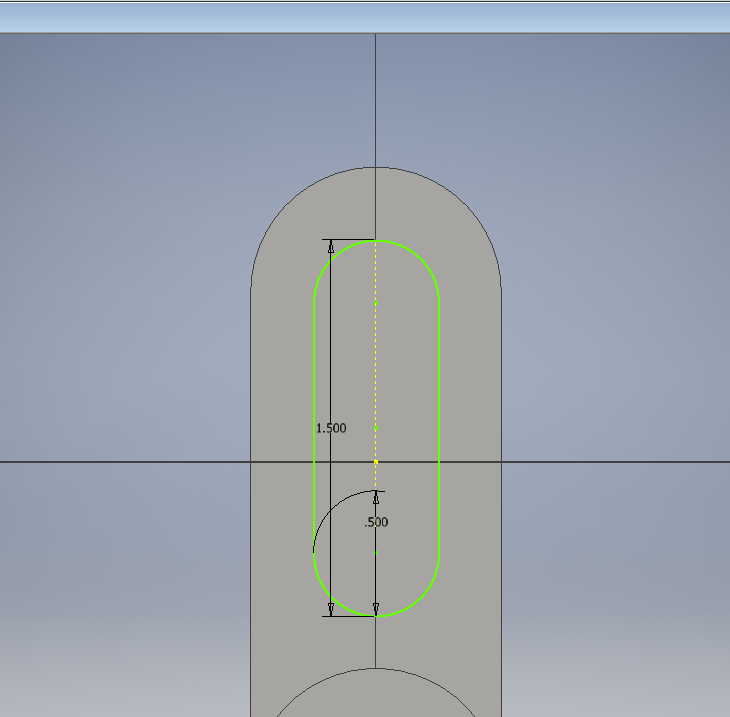
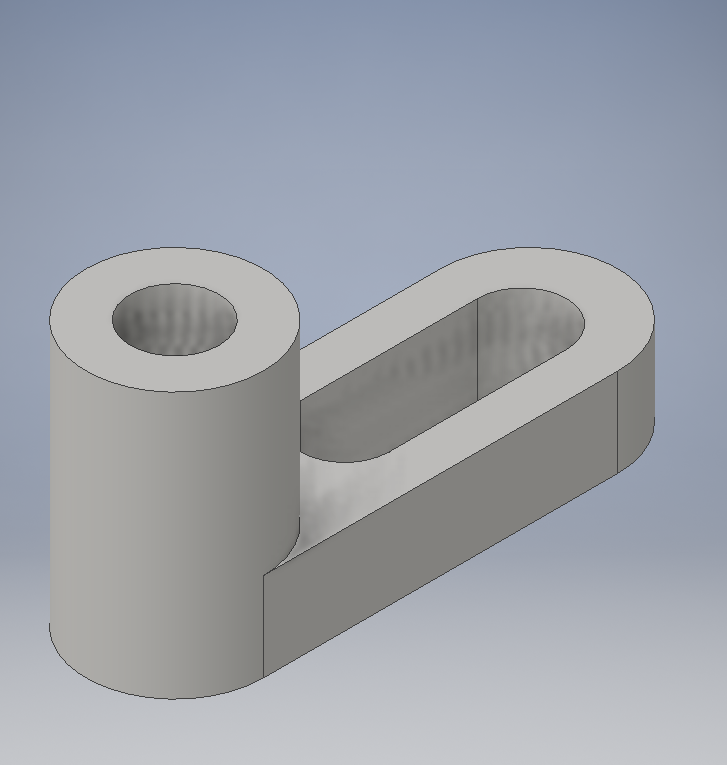
First pick a plane to be able to sketch. Once it is picked, select the slot feature and have the dimensions 1" and 3". Extrude it .5". Once that base is done, create a circle on the left end and making sure the diameter is 1" and extrude it 1". Cut out a circle in the center of the circle that is .5" and extrude it the opposite direction 1.5". Next you need to cut out another slot in the middle of the base with the circle. Making the dimensions
In Fusion 360 open up the downloaded file. I changed the bit to be a flat end bit, and changed the number of passes so the widget would be cut correctly. Also set up the correct dimensions for the bit. Then I watched a simulation of the widget being cut to make sure it was ready to be sent to the cnc mill. Put it on a flash drive (the g-code) and also saved it to my H-drive.
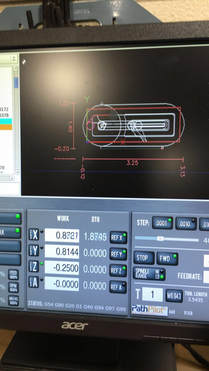
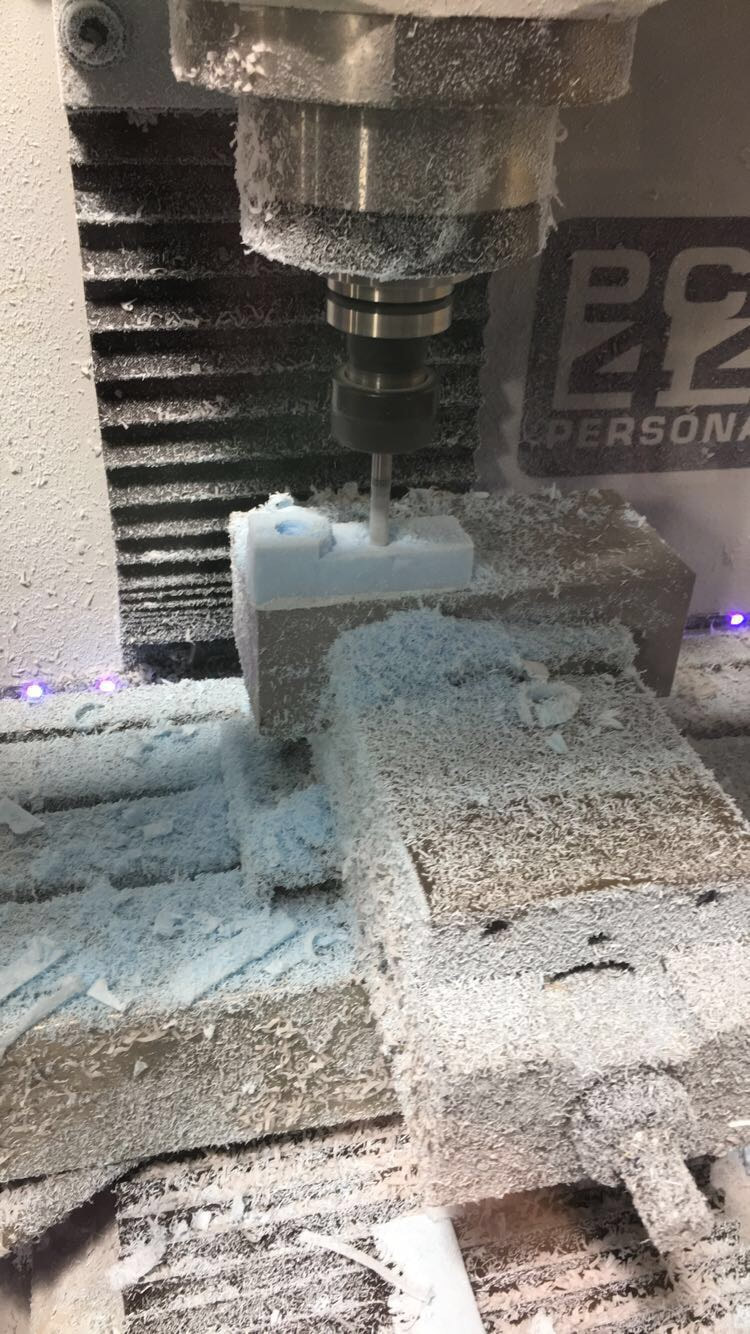
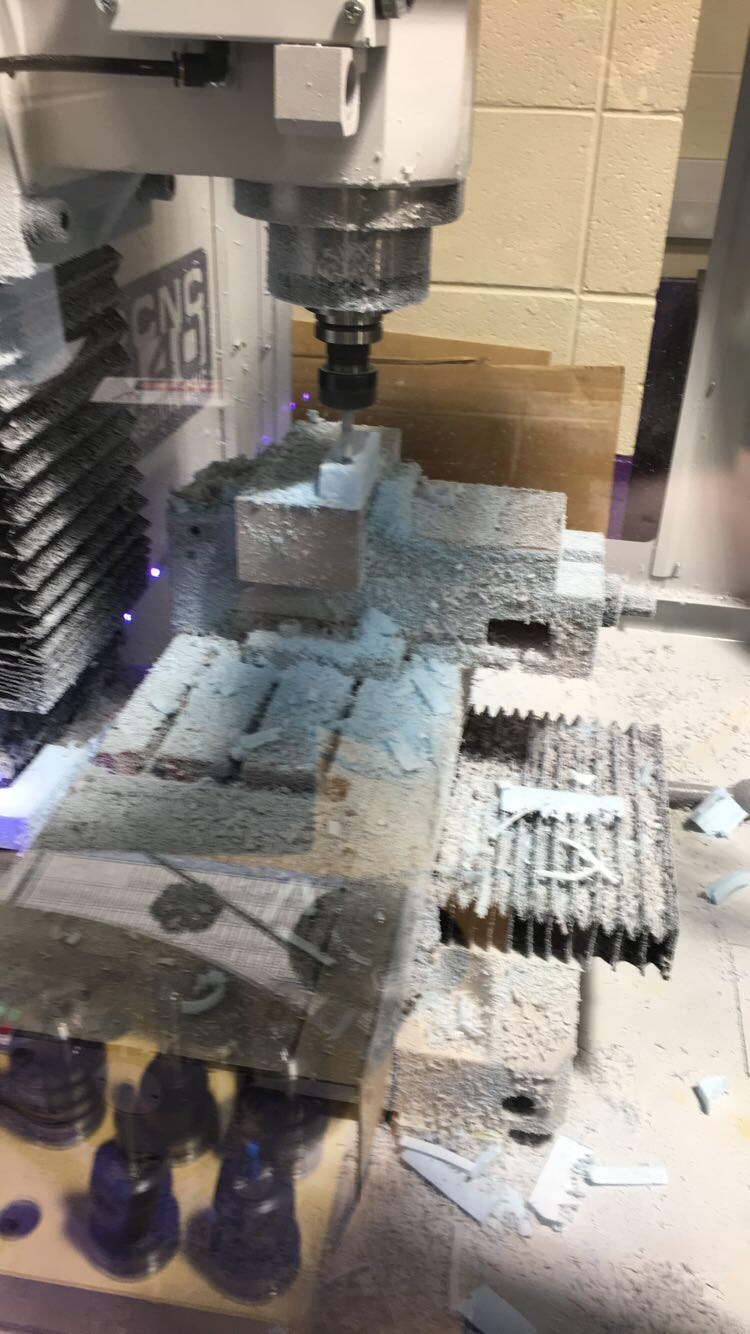
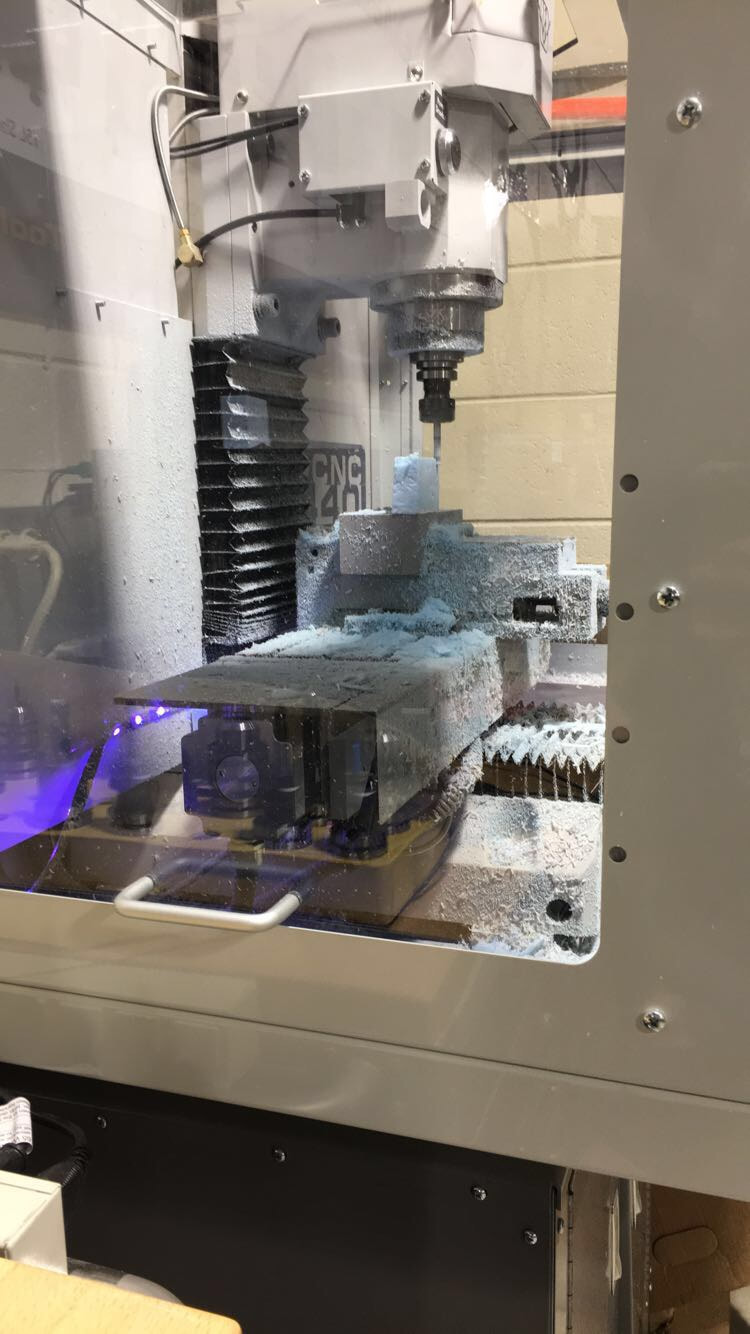
Once ready, I transferred the file to the computer connected to the cnc mill. I copied the file from the flash drive to the computer. I put double sided tape on the foam, and pressed it down so it wouldn't move in the cnc mill. I used the black disk to move the coordinates of the bit to the corner of the foam with X,Y and Z coordinates. Then pressed start, and had my hand by the space bar in case anything went wrong, watching it very closely. Once done took off the base of the machine and was done.
What I learned
In this project I learned that the widget doesn't stay on very well, but if you press hard enough it works. I also learned a new skill in inventor to draw the base. Not only did I learn something new in inventor I also learned something new in fusion 360. Fusion 360 has a lot of similar features as inventor but some different ones as well, it just took some time to figure out all that we needed to for the project.
